How to Record Basketball Games: A Complete Guide for Coaches
Frederik Hvillum
How to record basketball games without an operator. Camera position, setup guide, indoor filming tips, and how to analyse footage after the game with Veo.
Basketball moves faster than any coach can track with full attention. A point guard who takes three steps before the drive, a defender who leaves their assignment half a second early, a screen set at the wrong angle: these moments happen in real time and disappear before the whistle blows. Video does not miss them.
This guide covers how to record basketball games effectively, where to position your camera, how to handle the specific challenges of indoor filming, and how to use the footage for coaching analysis after the game. For a broader look at why video matters across all sports, see the importance of video analysis in sport.
Record your basketball games automatically with Veo Cam 3
Set up in under 2 minutes. No operator needed. Full court footage ready to review the same evening.
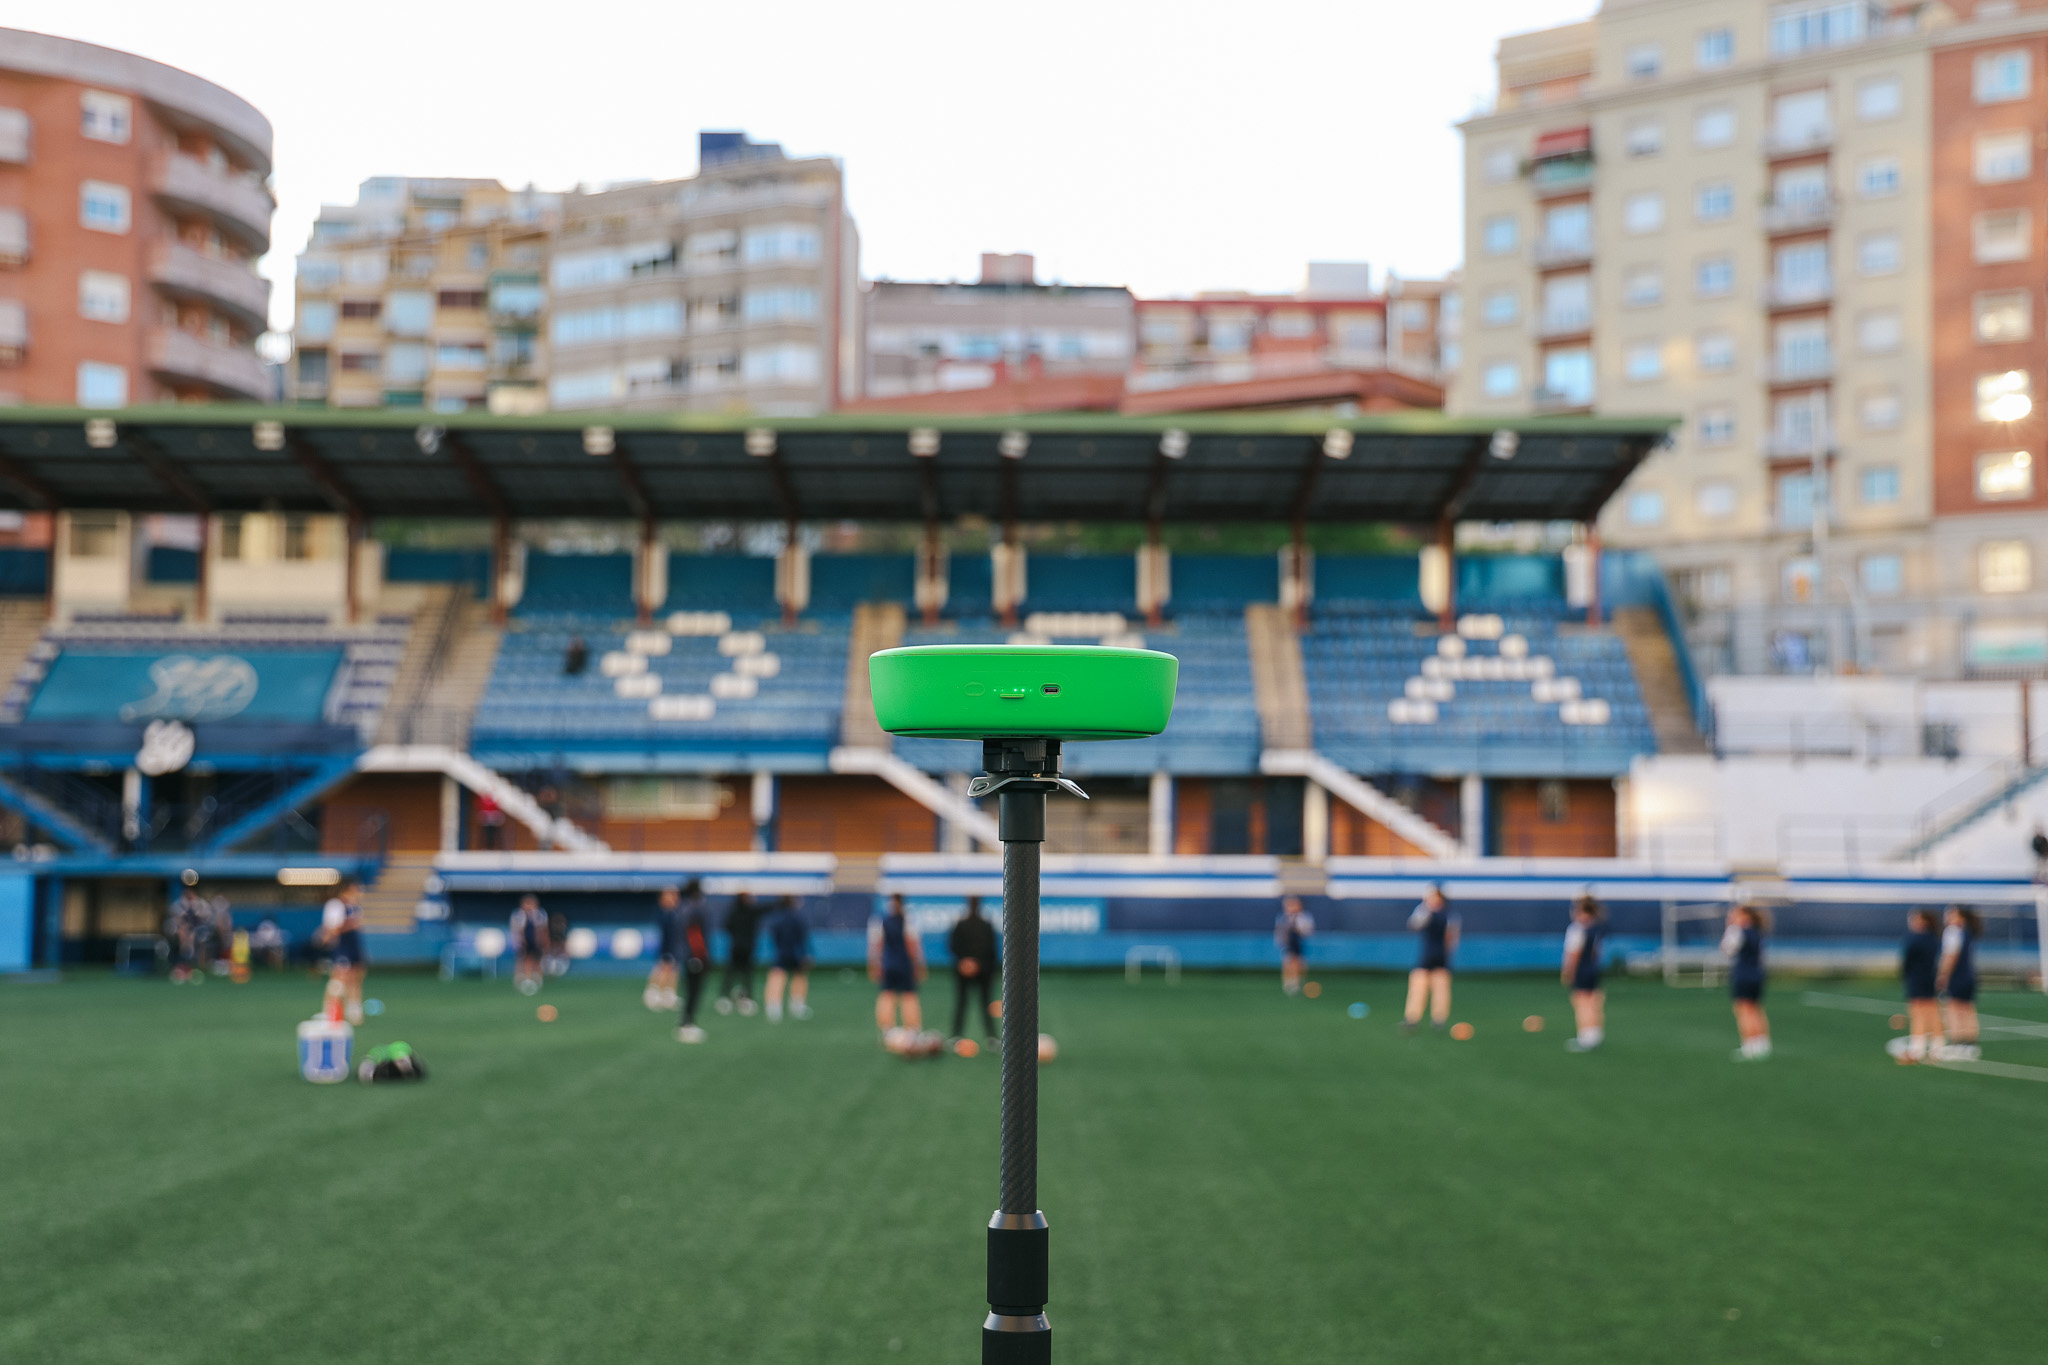
Where to position a camera to record basketball games
Camera position determines the usefulness of basketball footage more than any other variable. A camera that captures the wrong angle produces footage that cannot be used for tactical review, regardless of resolution or tracking quality.
Corner elevated position
The most widely used position for basketball recording. Place the camera in the corner of the gym at the top of the bleachers or on a tall tripod, angled to cover the full court from end line to end line. This position captures both half-courts simultaneously, which is essential for reviewing transition defence, fast breaks, and full-court press situations.
Best for: Full-court tactical review, transition play, team spacing and defensive rotations.
Midcourt elevated position
Position the camera at midcourt, elevated as high as the venue allows. This position gives the widest view of both teams' positioning and is the standard for broadcast-style coverage. The trade-off is that end line action (layups, baseline drives, post play) is less visible than from the corner position.
Best for: Half-court offensive sets, pick-and-roll coverage, zone defence structure.
End line position
A camera placed at the end line behind one basket captures driving lanes, post positioning, and shooting form with more detail than wider angles. This position misses the opposite end completely and is best used as a secondary camera alongside a full-court angle.
Best for: Shooting technique, paint positioning, offensive set execution near the basket.
For most teams recording without a dedicated camera operator, the corner elevated position covers the most coaching ground from a single setup. Mount the tripod as high as it will go, check that both baskets are visible in the frame, and press record.
The specific challenges of recording basketball indoors
Lighting
Gymnasium lighting varies significantly between venues. Fluorescent lights flicker at 50 or 60 Hz depending on the region, which can cause visible banding in video footage. Modern auto-tracking cameras handle this automatically. If using a manual camera, set the shutter speed to a multiple of the local power frequency (1/50 or 1/100 in Europe, 1/60 or 1/120 in North America) to eliminate flicker.
Space and tripod positioning
Gyms with limited spectator areas restrict where a tripod can be placed. In tight venues, the camera may need to sit on the top row of bleachers rather than on a freestanding tripod. Test the position before the game starts and ensure the camera is stable enough that incidental contact will not knock it over.
Glass and reflective surfaces
Some gymnasiums have large windows or mirrored walls. Check the live preview before pressing record to ensure there are no direct reflections pointing into the lens. Angling the camera slightly away from a direct light source eliminates most reflective issues without significantly changing the coverage angle.
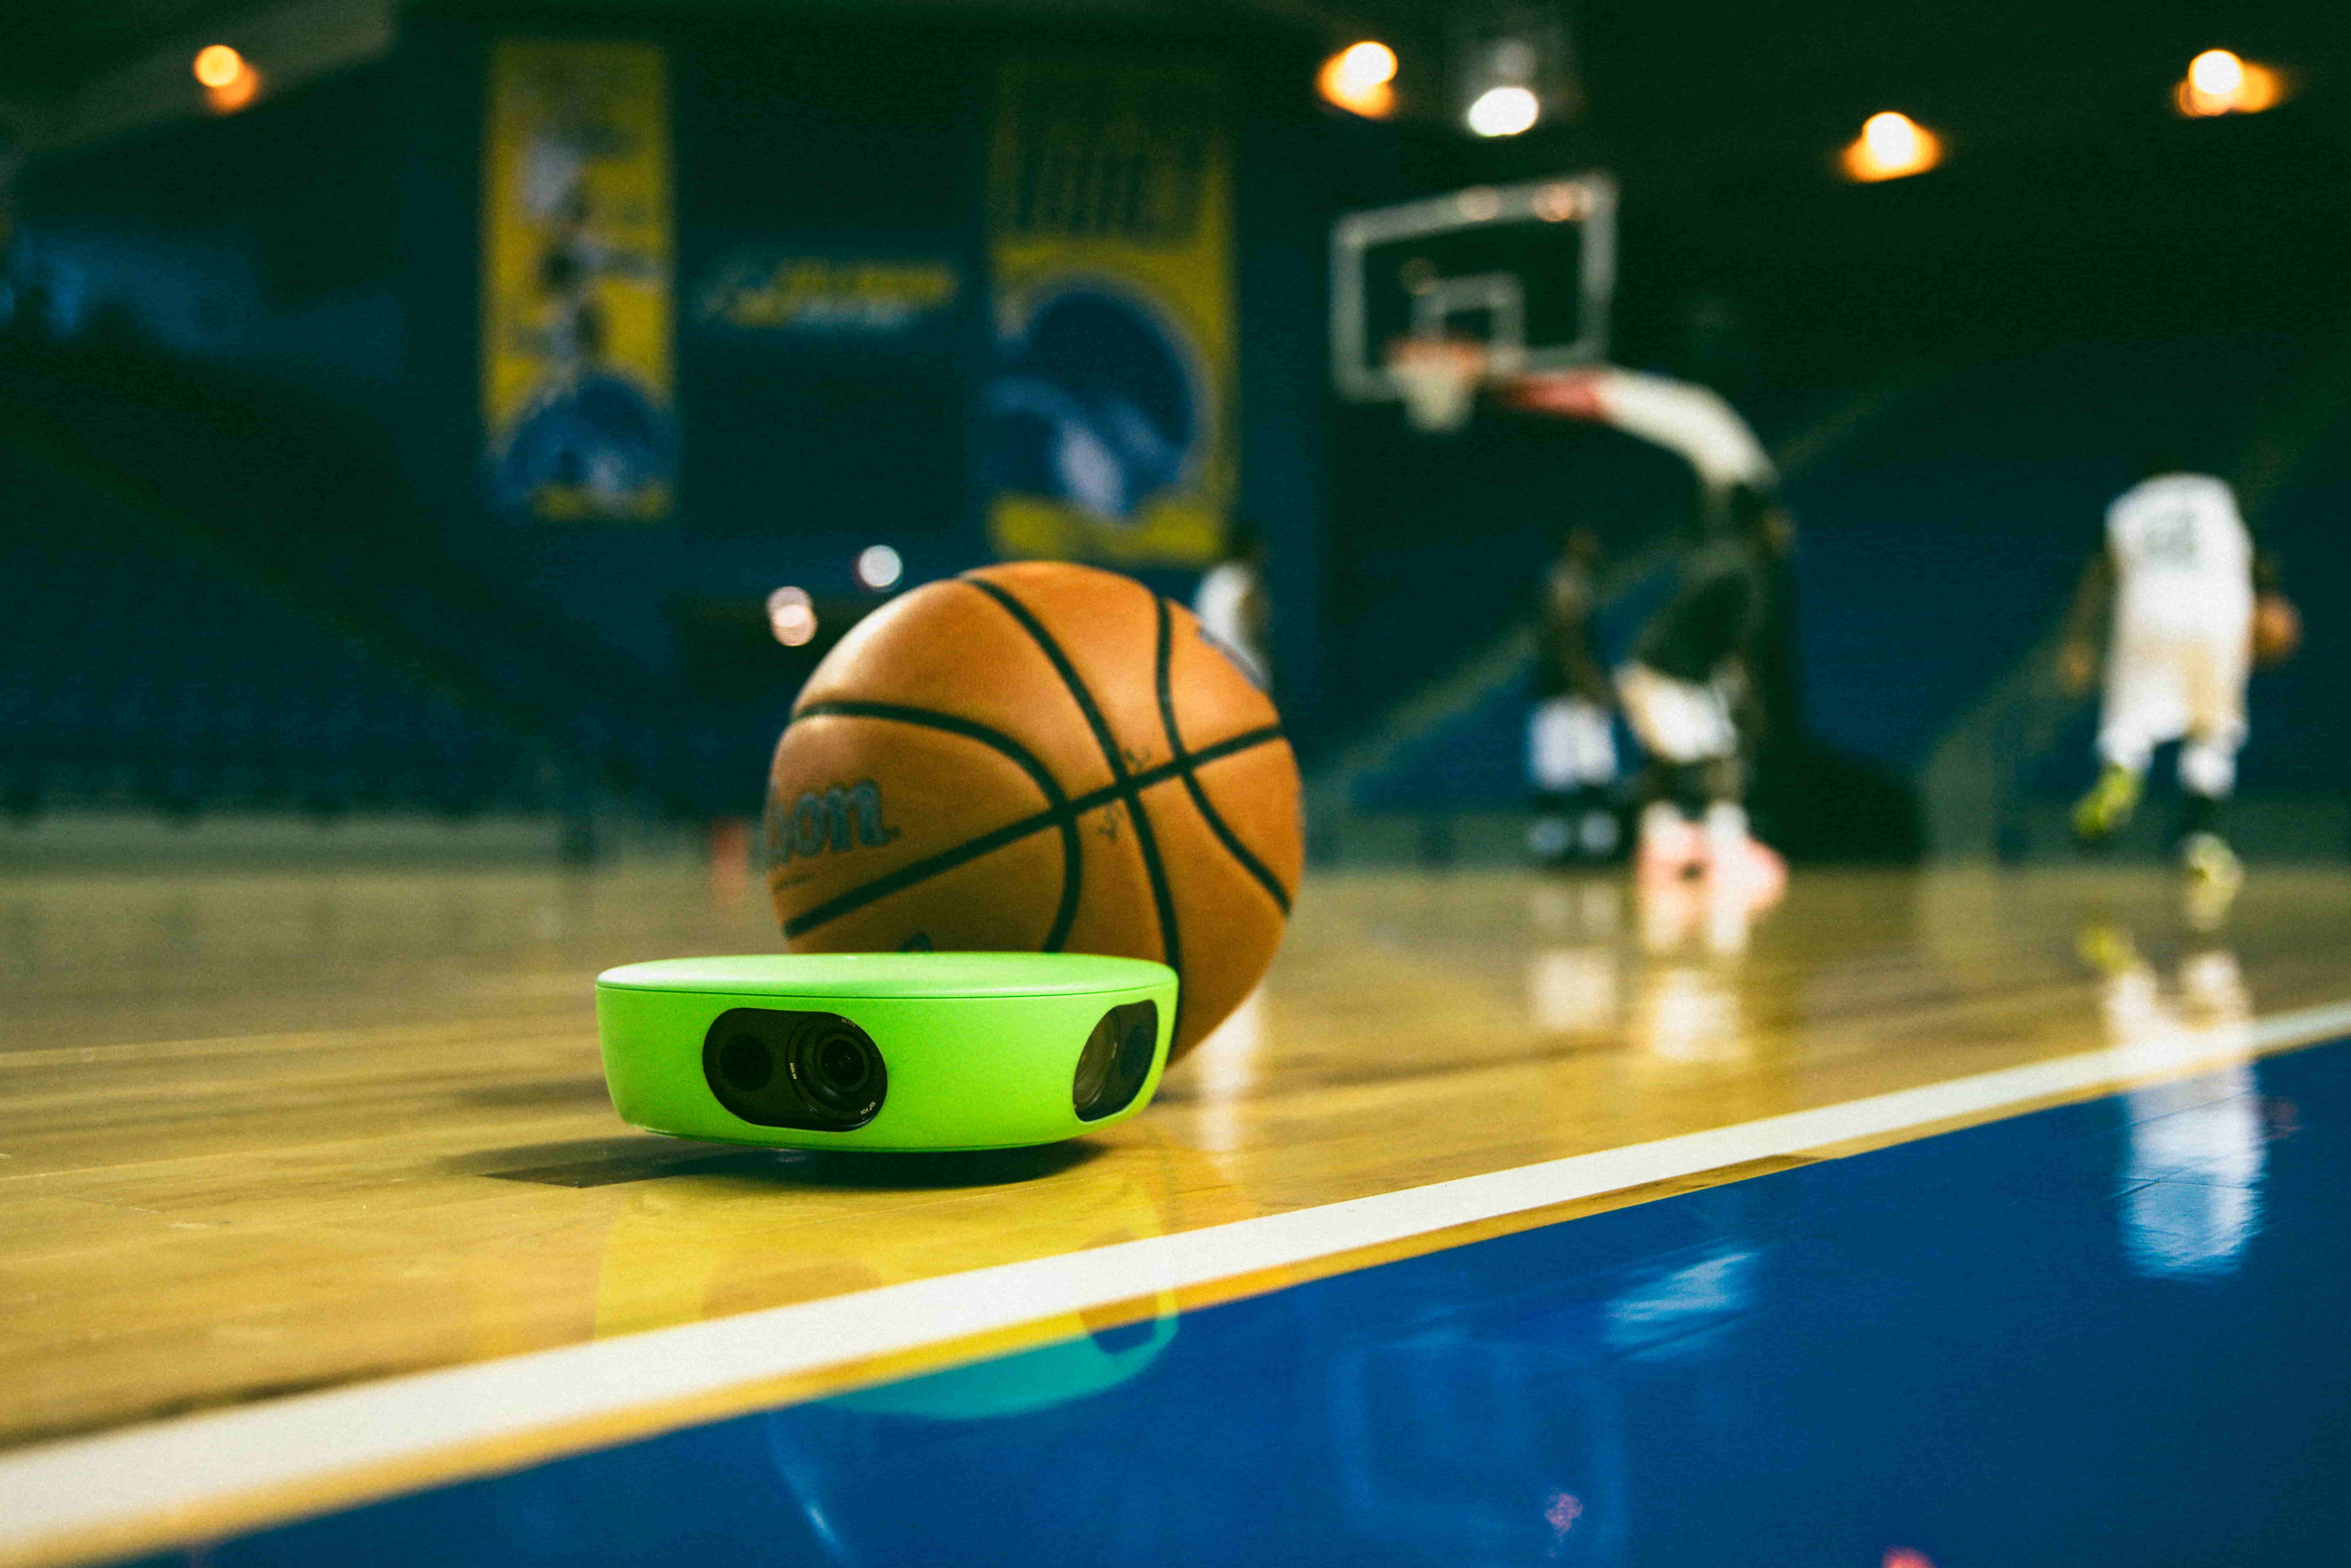
More than 40,000 clubs use Veo for game footage
More than 40,000 clubs across 100 countries use Veo to store and share footage, with over 4 million matches filmed on the platform (Veo internal data, 2026). Veo Cam 3 handles indoor and outdoor recording automatically.
How to analyse basketball footage after the game
Recording the game is step one. Coaching value comes from how the footage is used afterwards. Three workflows that work consistently:
Transition review
Basketball games are often won and lost in transition. After upload, scrub through the footage looking for every possession change: turnovers, made baskets, defensive rebounds. Clip the five to ten transitions where your team gave up the most ground defensively. These clips show clearly whether the issue is sprint back speed, recognition of the defensive assignment, or structural positioning.
Half-court offensive sets
Use the midcourt or corner view to review how your half-court sets are being executed. Pause at the moment the play is called and compare what you see against what the set is designed to produce. Players watching their own positioning on screen adjust faster than players receiving verbal descriptions of where they should have been.
Individual player clips
Cut 60 to 90 second clips of individual players showing specific habits: the guard who telegraphs the pass, the forward who consistently loses their defensive assignment on cuts, the center whose positioning in the post is two steps too deep. Share clips directly with players before the next practice. Visual evidence makes these conversations faster and more effective.
For sport-specific features and how clubs are using Veo for basketball, visit the Veo basketball page.
Start recording your games this week
Veo Cam 3 sets up in under 2 minutes. No operator, no manual upload, no complicated settings.
Related reading
- The importance of video analysis in sport
- Best auto-tracking camera for youth sports
- Best camera to live stream youth sports

FAQs
Yes. Shooting mechanics, defensive footwork, and team rotations are all easier to identify and correct from video than from real-time observation. A coach watching live sees the outcome; video shows the cause. Players aged 12 and above respond quickly to watching their own footage. Short clips of two or three specific moments, shared before the next session, produce faster improvement than verbal feedback alone.
The corner elevated position at the top of the bleachers covers both baskets and the full court simultaneously. This is the standard position for coaching film review. Midcourt elevation is better for half-court set analysis. End line position is useful as a secondary angle for post play and shooting technique but misses the opposite end entirely.
The best setup is an auto-tracking camera on a tall tripod in the corner of the gym, elevated as high as possible. This covers the full court without an operator and produces consistent footage across every game. Veo Cam 3 is the most widely used option at youth, high school, and college level for automatic full-court recording.
Use an auto-tracking camera like Veo Cam 3, which records the full court automatically once positioned and started. The camera follows the action using AI tracking without any manual input during the game. Setup takes under 2 minutes. The coach starts recording before tip-off and stops after the final buzzer.
Modern auto-tracking cameras adjust automatically to indoor gym lighting conditions including fluorescent flicker. If using a manual camera, set the shutter speed to a multiple of your local power frequency (1/50 or 1/100 in Europe, 1/60 or 1/120 in North America) to eliminate banding. Test the preview before the game starts and avoid positioning the camera facing directly into a light source.