How To Improve Soccer Skills — 8 Drills With Video
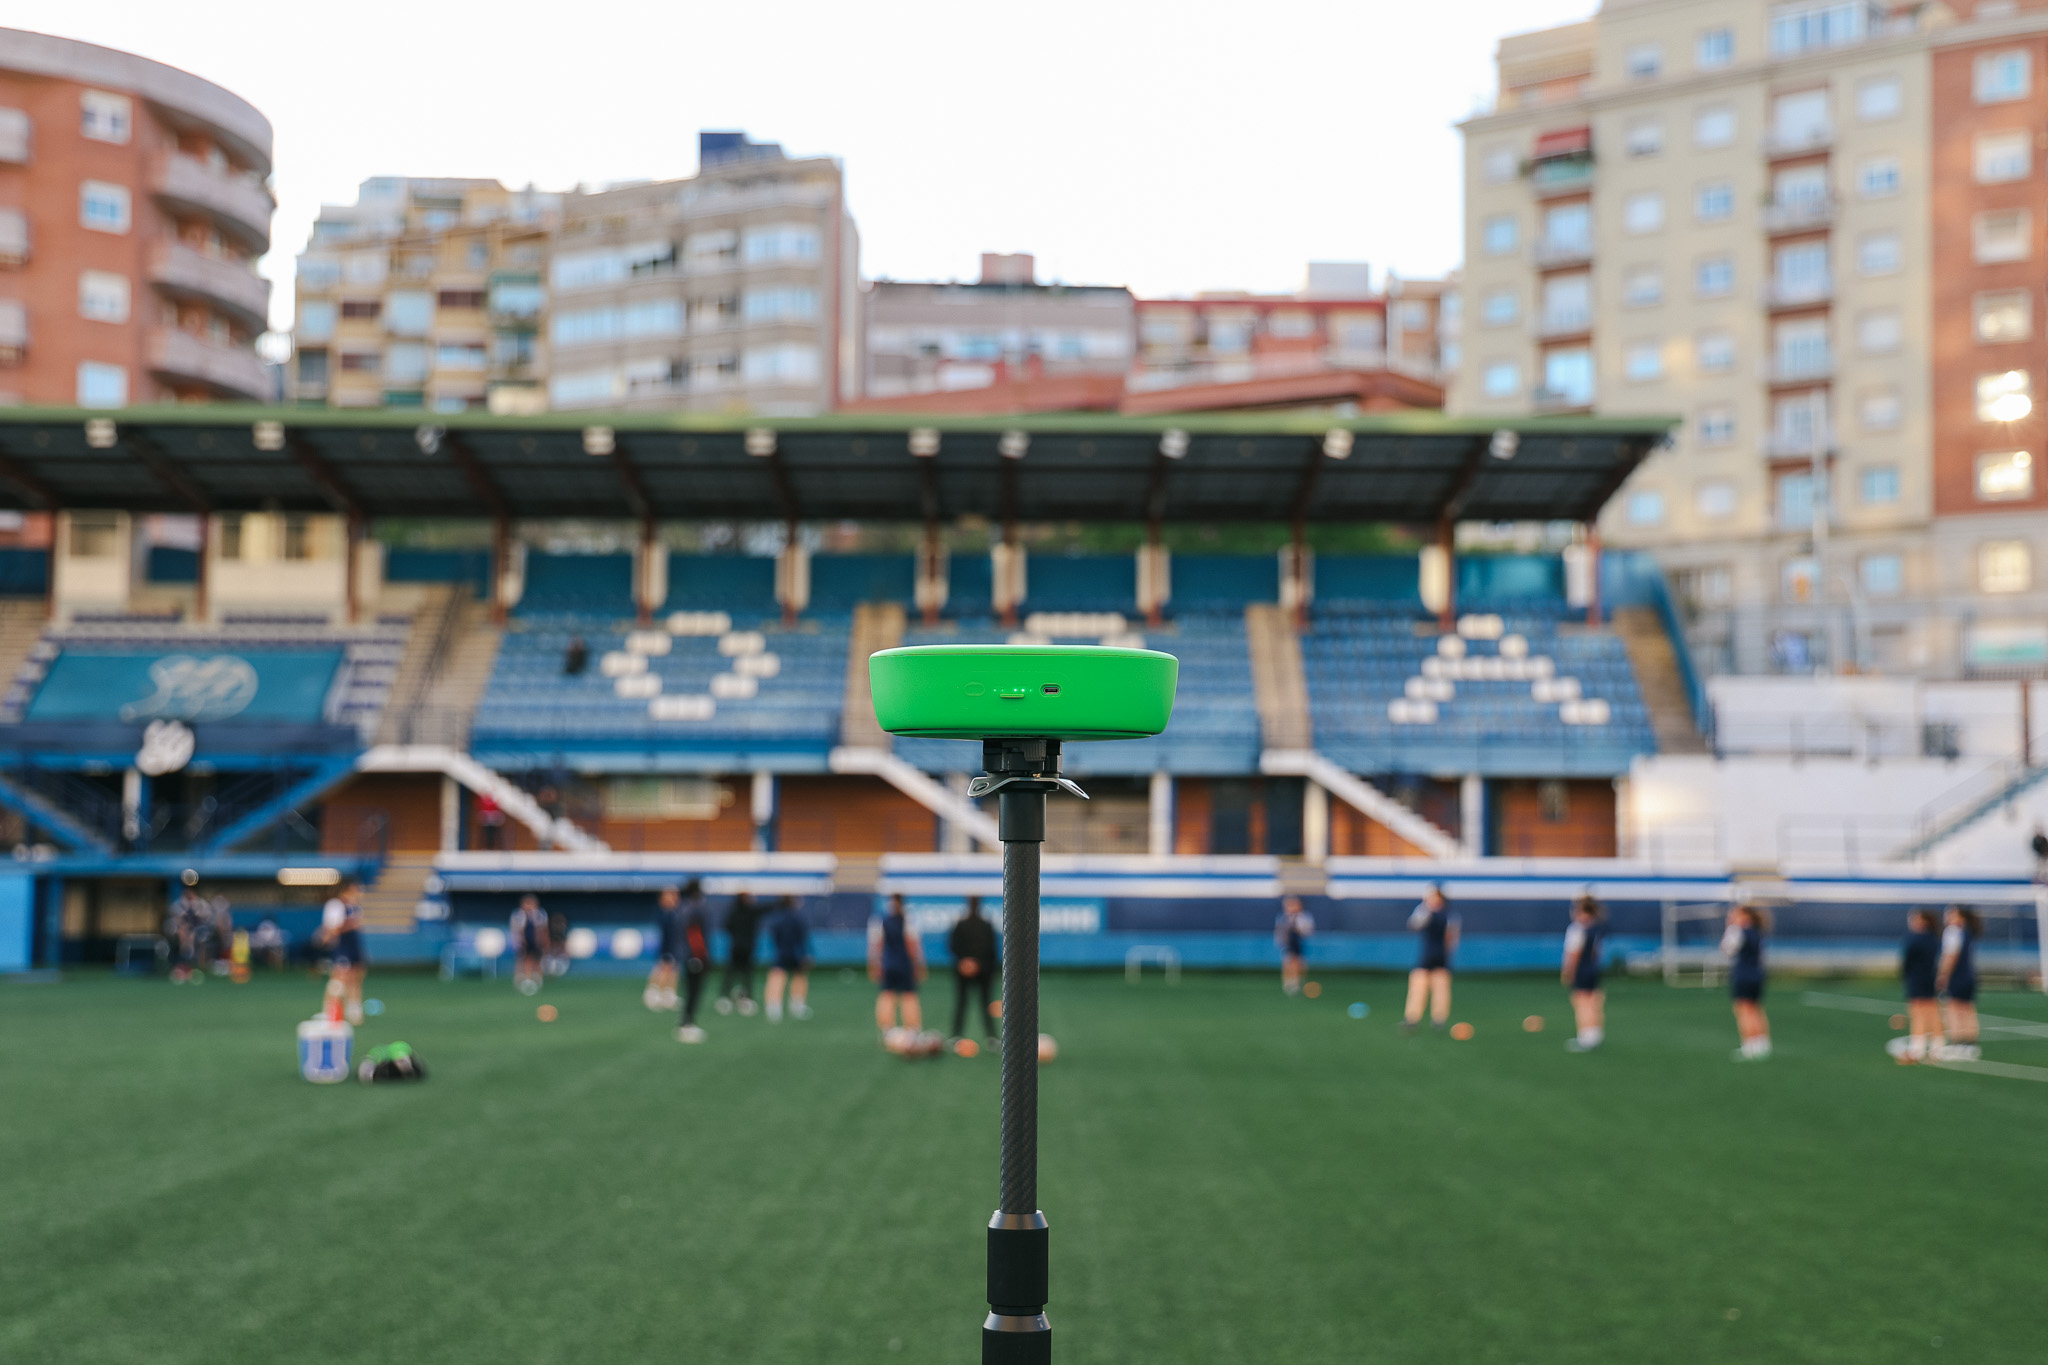
Veo
Want to improve your soccer skills? These 8 coach-tested drills cover dribbling, passing, shooting, and defending — with video tips that help you fix what you cannot feel.
Most players train without knowing what to fix. They repeat the same drills, hear the same feedback from coaches, and wonder why they plateau. Improving your soccer skills comes down to three things: practicing the right techniques deliberately, getting specific feedback, and understanding what good looks like so you can close the gap. These eight drills cover the skills that show up in every game: dribbling, passing, shooting, defending, and first touch. Each one includes a video note that shows exactly what to look for when you film yourself.
What actually makes players improve
The players who improve fastest share one habit that most players skip: they watch themselves. Not on a match camera from 50 meters away, but up close, in training, on specific drills. The reason it works is simple.
When a coach tells a player their passing weight is off, the player adjusts for a few minutes and then reverts. When that same player sees themselves hitting three short passes in a row on video, the correction sticks. The eye cannot argue with footage.
This guide is built around that principle. Every drill includes a specific video note so you know exactly what angle to film from and what to look for when you watch it back.
The 8 drills
1. Cone dribbling
Close control is the foundation of everything else in soccer. This drill builds the connection between foot and ball that makes dribbling feel automatic.
Setup: place six cones in a straight line, one meter apart. Dribble through the cones using only the inside of the foot, then return using only the outside. Progress to alternating feet on each touch.
Coaching cue: keep the ball within one step of your feet at all times. Players who push the ball too far ahead lose control the moment a defender steps in.
What to watch on video: film from directly above, or from the end of the line. Look at how far the ball travels between touches. The best reps keep the ball almost underfoot. Most players will see they are pushing it further than they thought.
Age note: U8 and up. Younger players should start at walking pace and build speed gradually.
2. Wall passing
Passing weight is one of the most common weaknesses in youth soccer and one of the easiest to fix with focused practice.
Setup: mark two targets on a wall or rebounder, 1.5 meters apart. Pass to the left target, receive, pass to the right. Alternate feet. Count consecutive accurate passes without breaking rhythm.
Coaching cue: the pass should arrive at the target with enough pace to return cleanly. A ball that dies on the wall is too soft. A ball that rebounds past you is too hard. Find the weight that keeps the rhythm going.
What to watch on video: film from the side. Watch the ankle at contact. The foot should be locked, toes up, striking through the middle of the ball. Players who roll their ankle on contact consistently mis-hit passes under pressure.
Age note: U8 and up. Use a wall or fence if a rebounder is not available.
3. First touch control
A poor first touch gives defenders a free step. Good control puts the ball exactly where you want to go next.
Setup: work in pairs 8 to 10 meters apart. Server plays varying passes — along the ground, in the air, hard, soft. Receiver controls, takes one touch to set the ball, and passes back. After 10 passes, swap.
Coaching cue: meet the ball early. Players who wait for the ball to come to them get caught by a defender. Move toward it, take it early, and redirect with the first touch.
What to watch on video: film from the side, level with the player receiving. Look at where the first touch lands relative to the player's body. A good touch sets the ball into space ahead. A bad touch puts it under the feet or behind the body.
Age note: U10 and up. Younger players should start with rolling passes before adding aerial balls.
Record your sessions and watch them back
More than 40,000 clubs across 100 countries use Veo to store and share footage, with over 4 million matches filmed on the platform (Veo internal data, 2026).

4. Rondo
A rondo trains passing, decision-making, and defensive pressing at the same time. It is the most widely used training exercise at professional clubs for a reason.
Setup: four to six players form a circle, two players in the middle defending. Outer players keep the ball with one or two touches. Defenders try to win the ball or force a mistake. When a defender wins the ball, they swap with the player who lost it.
Coaching cue: for outer players, always know where your next pass is going before the ball arrives. Players who receive and then look take one touch too many.
What to watch on video: film from above if possible. Look at the body shape of the outer players when they are not on the ball. The best players open their body to see both options before they receive.
Age note: U12 and up. Use larger circles and more players for younger or less experienced groups.
5. Shooting circuit
Shooting technique breaks down under pressure because players have not built the muscle memory for it. This circuit trains that.
Setup: place three balls in different positions around the penalty area. Player starts at the center circle, drives toward the first ball, shoots, recovers, drives to the second, and so on. Vary the angle and distance for each ball.
Coaching cue: approach the ball at a slight angle, not straight on. A straight approach locks the hips and reduces power. The angled approach lets you drive through the ball.
What to watch on video: film from behind the goal, level with the crossbar. Watch the standing foot position. Players who plant too close to the ball crowd their swing and lose power. The standing foot should be level with the ball and around 20 centimeters to the side.
Age note: U10 and up. Younger players should work on technique at slow speed before adding the running approach.
6. 1v1 defending
Defending is the most undertrained skill in youth soccer. Most players practice defending by accident, in scrimmages. Deliberate defending work produces faster gains.
Setup: attacker starts with the ball 15 meters from goal. Defender starts 5 meters back. Attacker tries to score. Defender tries to delay, jockey, and win the ball without diving in. Run for 15 seconds, then reset.
Coaching cue: stay on your feet as long as possible. The tackle is a last resort. Good defending is about positioning the attacker into a worse angle, not winning the ball immediately.
What to watch on video: film from the side. Look at the defender's body shape. Hips should be sideways, not square. A square-on defender gets beaten by pace. A sideways defender can stay with the attacker through a change of direction.
Age note: U10 and up.
7. Crossing and finishing
Most youth teams score and concede through set pieces and crosses. Training this specifically pays off quickly in matches.
Setup: wide player with a ball on the flank. Two or three players make runs into the box: near post, far post, penalty spot. Wide player delivers the cross on the third touch. Finishers attack the ball.
Coaching cue: for finishers, time your run to arrive at the ball, not to arrive early and wait. A player who arrives early stands still and is easy to mark. A player who times the run arrives with momentum.
What to watch on video: film from behind the goal at height. Look at the timing of the runs relative to when the wide player touches the ball. Most players in youth soccer start their runs too early.
Age note: U14 and up. Younger players should practice the individual crossing and receiving movements separately first.
8. Film review session
Every drill above includes a video note. That is because watching yourself is the fastest feedback loop available to a player who does not have a coach watching every session.
Setup: record your training session with Veo Go. After practice, watch 10 to 15 minutes of footage and pick one specific skill to focus on. Write down one thing to change before the next session. That is all.
Coaching cue: watch yourself the way you would watch a professional. Notice what the best reps look like, then identify what is different on the weaker ones. One clear observation per session is more useful than a long list.
What to look for: standing foot position when shooting, body shape on first touch, ankle position when passing, hips when defending. Pick one per session and focus on it.
Age note: all ages. Younger players benefit from reviewing footage with a coach or parent who can guide what to look for.
Why video makes every drill more effective
The gap between what a player thinks they are doing and what they are actually doing is where most improvement lives. A coach can describe correct technique. A player can nod and attempt it. But without seeing it, the correction rarely sticks past the end of the session.
Veo Go turns any iPhone into a coaching camera. Place it on a tripod before practice, record your session, and review one specific thing afterward. You do not need to watch everything. Five focused minutes on one drill, looking for one detail, produces more improvement than an hour of general film study.
For passing-specific drills at youth level, read Soccer Passing Drills For Youth. If you want to record full training sessions and matches, see How To Record Soccer Games.

FAQs
Focused practice on one skill at a time produces faster improvement than general training. Choose the area that costs you the most in matches — first touch, passing weight, or defending. Practice it deliberately every session. Add video review twice a week to confirm whether your technique is actually changing.
Most players see a clear difference in a specific skill within four to eight weeks of deliberate practice. Game awareness and decision-making take longer because they develop through live play. The players who improve fastest practice specific skills and watch themselves on video.
Yes. Wall passing, cone dribbling, shooting circuits, and first touch work can all be done alone. Film the sessions on your phone so you can review your technique afterward. Solo training works best when you set a clear goal for each session and measure progress against it.
First touch and passing are the foundation of every other skill in soccer. A player with reliable control and accurate passing can develop dribbling, shooting, and defending more quickly because the basics are not costing them energy. Start with wall passing and first touch control before moving to more complex drills.
Yes. Players who watch themselves on video identify technique errors that verbal coaching alone does not fix. The reason is that most players have an inaccurate picture of what they are doing. Video corrects that picture quickly. Focus on one specific skill per review session and write down one change to make at the next practice.
.png)