Youth Lacrosse Drills for Beginners: A Coach Guide
Frederik Hvillum
The best beginner lacrosse drills for youth coaches. Cradling, passing, catching, ground balls, and shooting, with age guidance and coaching cues for each drill.
Lacrosse has a steeper learning curve than most youth sports. The combination of stick skill, footwork, and spatial awareness required to play effectively takes time to develop, and the early weeks of coaching beginners can feel slow. The coaches who build the best youth lacrosse players are the ones who make stick work habitual, keep sessions physically active, and resist moving to team tactics before the individual foundations are solid.
This guide covers five beginner lacrosse drills that develop the core skills every youth player needs: cradling, passing, catching, ground balls, and shooting. Each drill includes coaching cues, age guidance, and notes on what video reveals that live coaching misses.
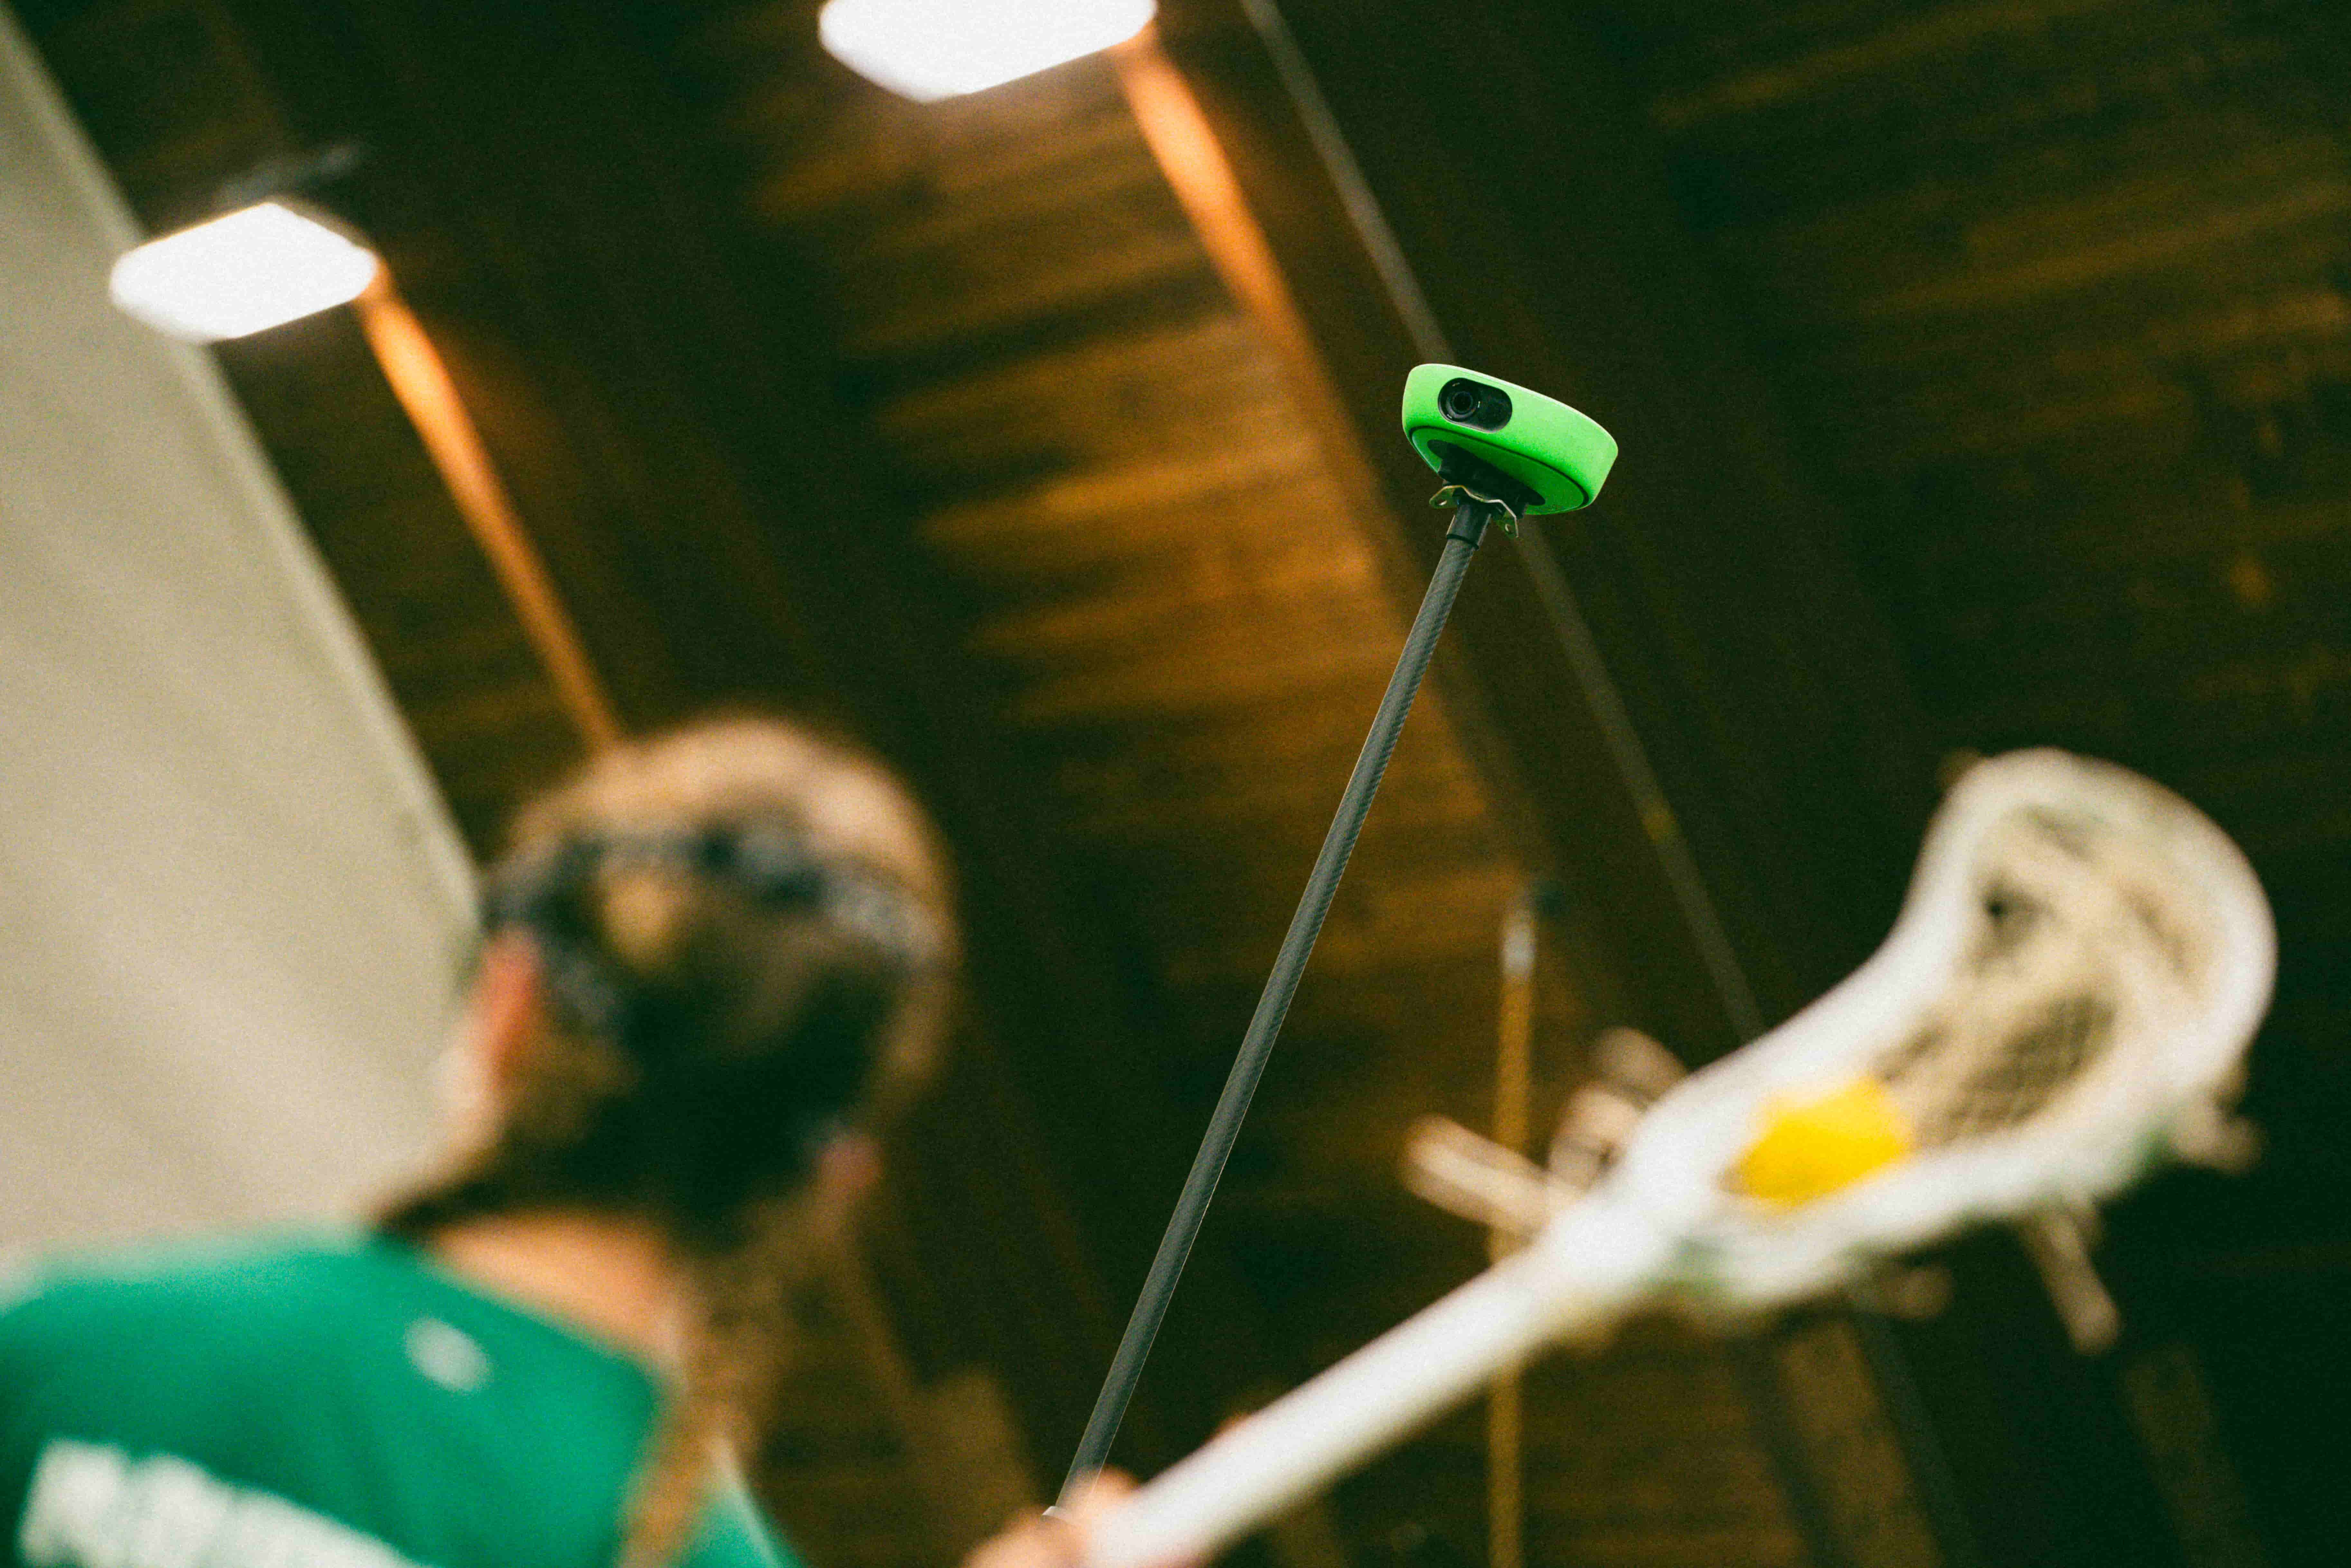
Capture stick work and footwork with Veo Cam 3
Veo Cam 3 records your full session automatically. Review cradling mechanics and shooting technique in slow motion after every practice.
What beginner lacrosse players need most
The stick is the biggest barrier for beginners. A player who cannot cradle confidently while running, or who drops passes under pressure, cannot participate fully in any team drill. Stick work must be a non-negotiable part of every session at U8 to U12, and it should happen before any tactical work begins.
The three skills that need the most repetition at beginner level:
- Cradling while moving. A player who can only cradle while standing still loses the ball as soon as they accelerate. Cradling drills should always involve movement.
- Catching with soft hands. Young players catch by stabbing at the ball rather than receiving it. Soft hands means the stick gives slightly on impact to absorb the ball rather than fighting it.
- Ground balls with correct body position. Ground balls are among the most frequent events in a lacrosse game. Players who scoop with bad body position lose possession to opponents who arrive at the same ball with better technique.
Drill overview
The drills
Drill 1: Wall ball cradling
Each player stands 3 to 5 metres from a wall or rebounder. They throw the ball against the wall and catch the return, cradling immediately on the catch before throwing again. Run for 8 minutes continuously. Left hand only for 2 minutes, right hand only for 2 minutes, alternate hands for 4 minutes. This is the single most effective drill for building stick confidence and should be in every session.
Coaching cue: "Catch and cradle in one motion. The cradle starts the moment the ball hits your pocket. There is no pause between catch and cradle."
Age note: Appropriate for all ages. At U6 to U8, use a softer ball and reduce the distance to 2 metres. The goal at this age is catching successfully more often than missing, which builds confidence faster than correct mechanics.
Drill 2: Partner passing and catching
Players pair up at 7 metres apart and pass continuously for 10 minutes. After 3 minutes, step back to 10 metres. After 3 more minutes, step back to 15 metres. Focus on throwing mechanics: step toward the target, hip rotation, follow through to the target. The receiver focuses on catching with soft hands and cradling immediately.
Coaching cue: "Step to your target. Your feet point where the ball goes. A throw where your feet are pointed sideways loses accuracy and power before the ball leaves your stick."
What to watch on video: Foot position at the moment of release. Players who throw without stepping toward the target are immediately visible in the footage. This is one of the most common beginner errors and one of the hardest to correct verbally because players feel like they are already stepping forward when they are not.
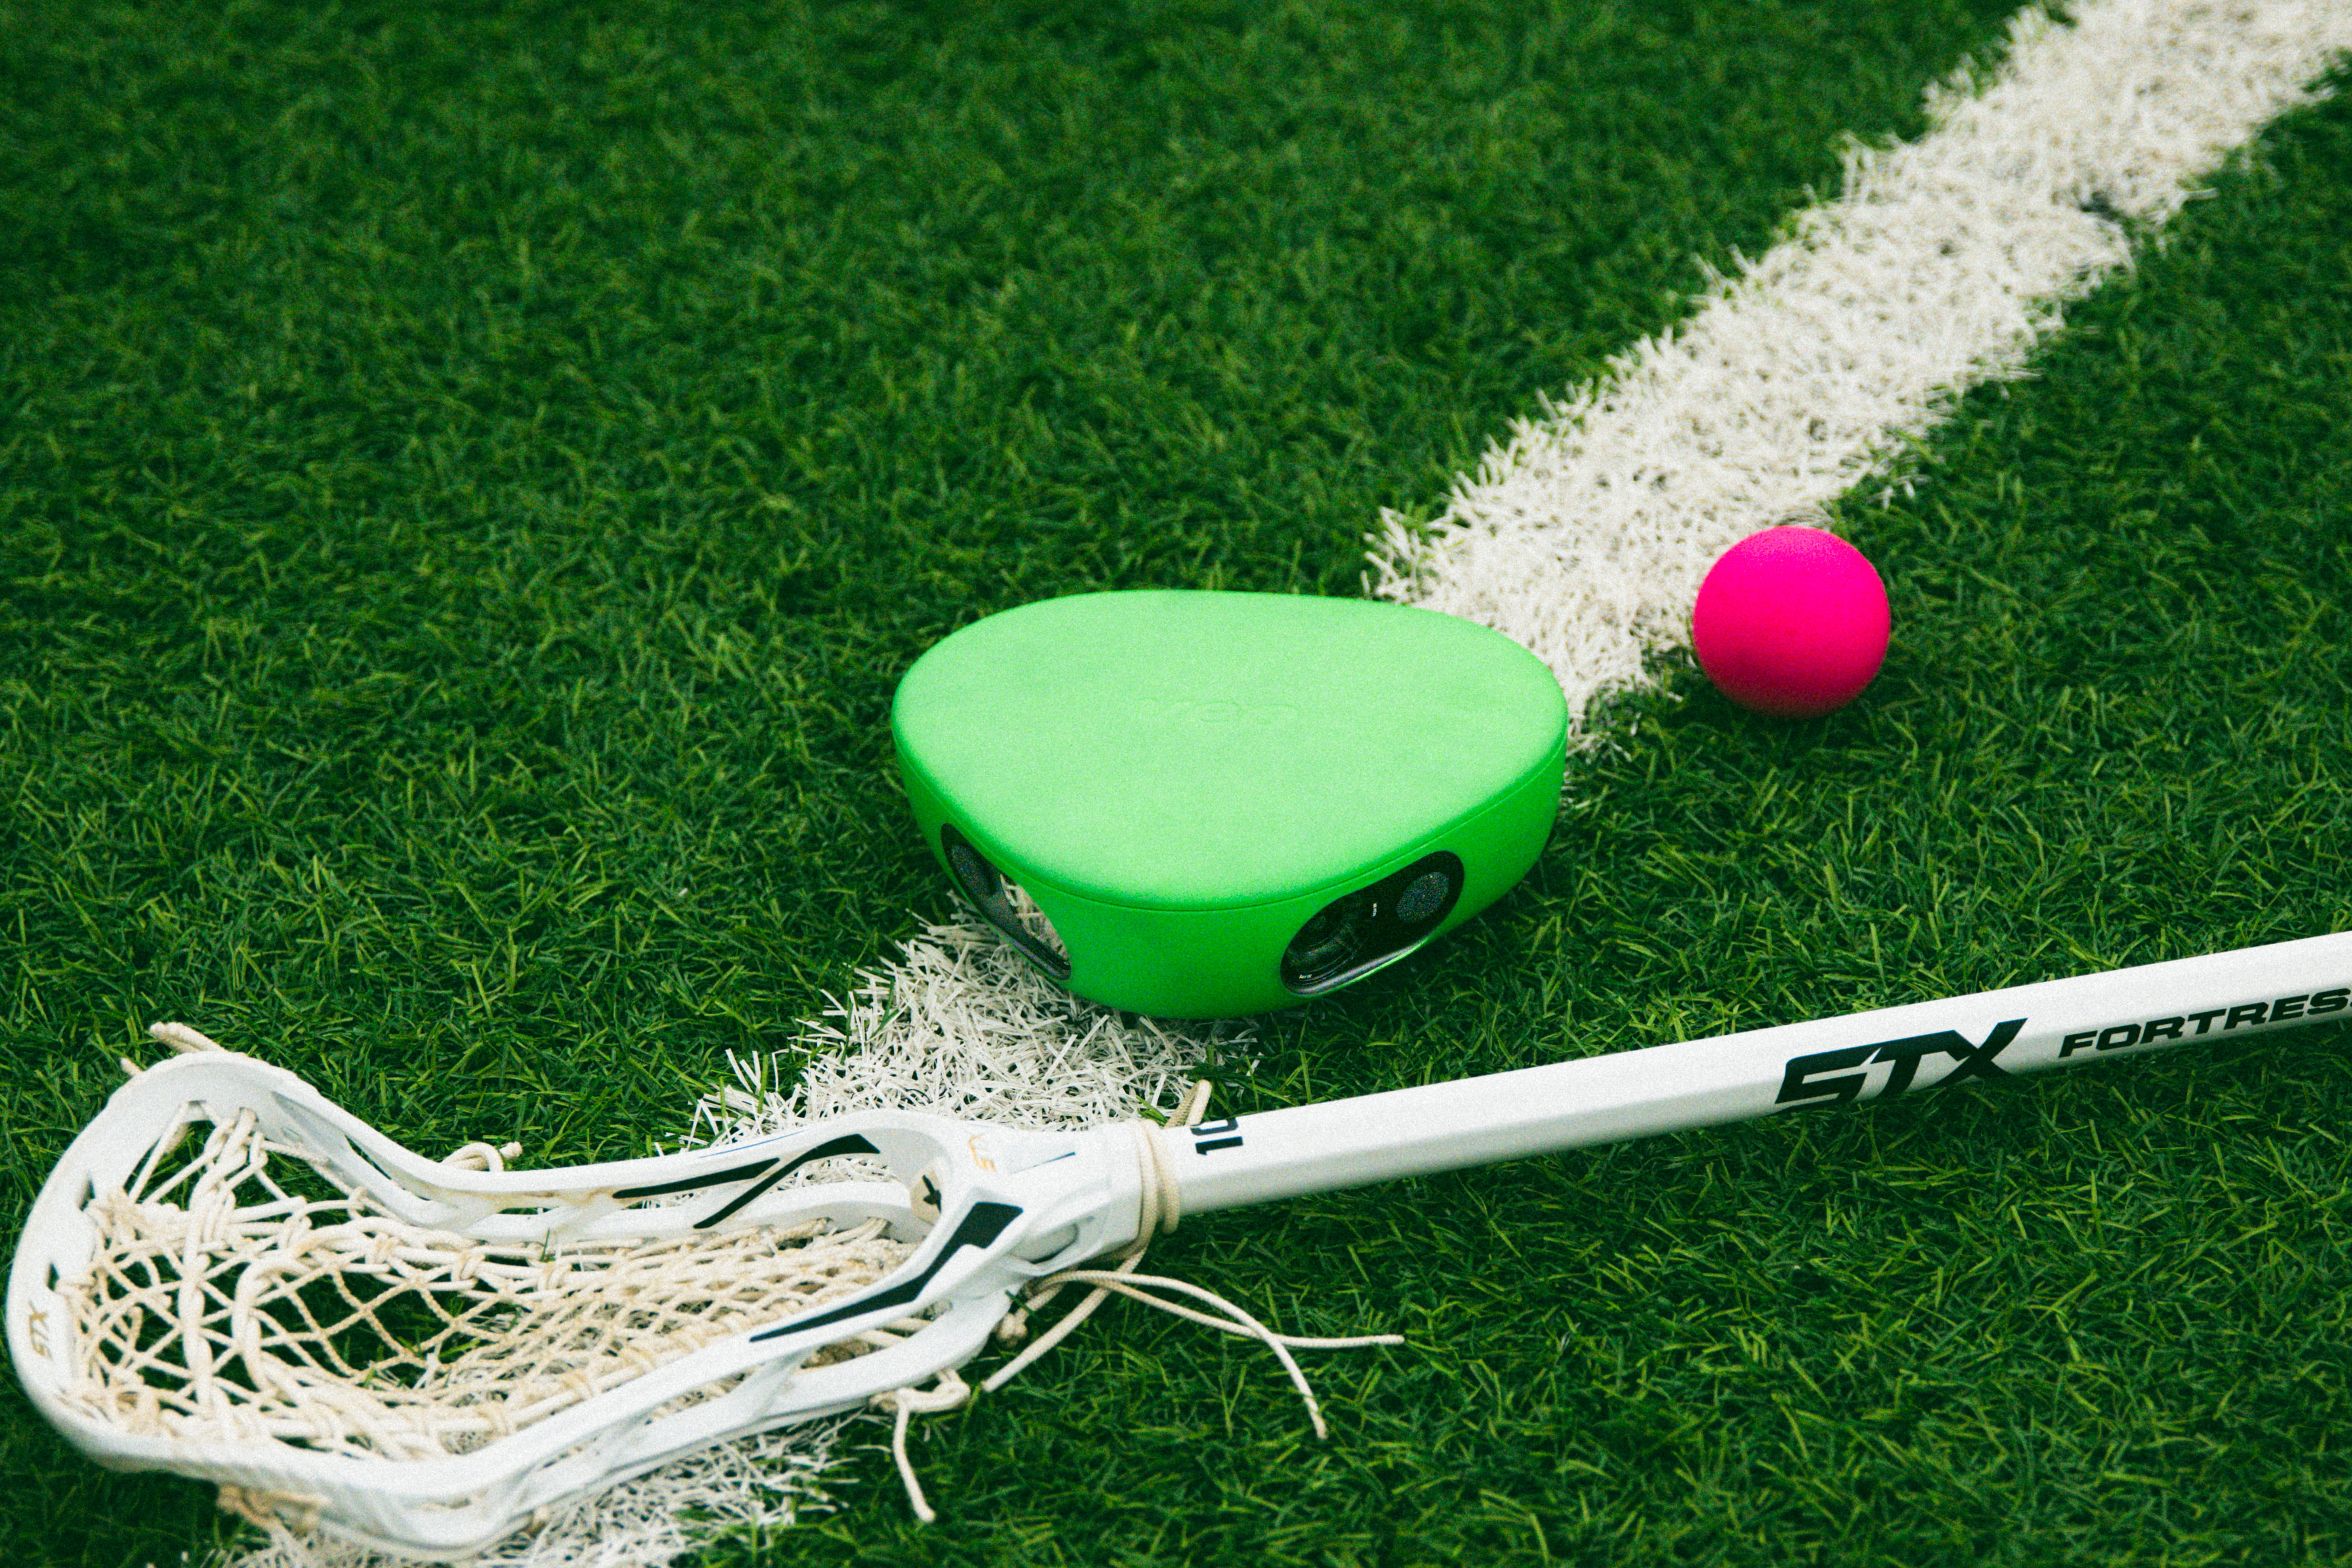
Identify technique errors in slow motion
More than 40,000 clubs across 100 countries use Veo to store and share footage, with over 4 million matches filmed on the platform (Veo internal data, 2026). Veo Cam 3 captures stick mechanics and footwork in detail so coaches can identify errors that are invisible at full speed.
Drill 3: Ground ball scoop race
Two players line up side by side. The coach rolls a ball 5 metres ahead. Both players race to scoop it up. The focus is not winning the race but scooping correctly: bend the knees, get the head of the stick on the ground, scoop through the ball, and cradle immediately. The competitive element maintains intensity without reducing it to a pure speed drill.
Coaching cue: "Head of the stick on the ground first. If you scoop from above the ball, you will miss it or pop it forward. Get the stick down and scoop through."
Age note: Introduce at U8. The competitive element is important for maintaining energy. At U6, remove the race and simply practice the scoop motion from a stationary position before introducing movement.
Drill 4: 3v2 fast break
Three attackers start at midfield against two defenders and a goalkeeper. The attackers advance and try to score; the defenders try to force a turnover or a missed shot. Reset immediately after each possession ends. Run 10 repetitions per group, then rotate attackers and defenders. The 3v2 format gives attackers a numerical advantage that forces the defenders to make decisions about who to cover.
Coaching cue (attackers): "Move the ball faster than the defenders can move their feet. Two quick passes creates an open shot. Holding the ball gives the defence time to recover."
Age note: Introduce at U10. Players need to have passing and catching under pressure before the fast break produces useful repetitions. At U8, simplify to 2v1.
Drill 5: Shooting circuit
Set up four cones at different angles around the goal: right side, left side, top right, and top left, all approximately 8 metres out. Players work through all four positions in sequence, taking one shot from each before returning to the back of the line. Focus on stepping into the shot and following through toward the target. Run for 12 minutes.
Coaching cue: "Pick your corner before you shoot. Aim for a specific part of the goal, not just the goal in general. A shooter who aims at the whole goal is easier to stop than a shooter who aims at the corner."
What to watch on video: Follow-through direction. Players who do not follow through toward the target lose accuracy. A camera positioned behind and slightly above the shooting arc shows the follow-through angle clearly across all four positions.
Using video for beginner lacrosse development
Stick mechanics are difficult to coach accurately at full speed. A cradling motion that looks smooth from 10 metres away may have the wrong wrist rotation or grip pressure. A throwing motion that produces an accurate pass may still be arm-dominant in a way that will limit power and accuracy as the player gets older. Video slows these moments down.
Coaches using Veo Cam 3 review stick mechanics and footwork after sessions. Clips from the passing drill showing foot position errors, or footage from the shooting circuit showing follow-through angles, become the starting points for the next session.
For how to set up your camera at lacrosse practice, see how to film youth matches. The setup principles are the same for lacrosse as for any other youth sport.
You can also read our guide to youth lacrosse defense drills.
Build better stick skills with better footage
Veo Cam 3 records your full practice. Review cradling, passing, and shooting mechanics in detail after every session.


FAQs
Yes, particularly for stick mechanics. Cradling wrist rotation, throwing foot position, and scooping body angle are all easier to identify and correct from slow-motion video than from verbal feedback during a drill. Players aged 10 and above respond quickly to watching their own footage. Shorter clips of one or two specific moments are more useful than sharing the full session.
Start with wall ball at close range. The wall provides immediate feedback: a ball that is not cradled properly falls out of the stick on the next catch. Teach cradling as a continuous motion that starts on the catch, not as a separate skill that happens between passes. Players who stop cradling between passes lose the ball to pressure in games.
Most programmes introduce lacrosse from age 6 or 7 with modified equipment and soft balls. The focus at this age is enjoyment and basic motor skills: catching, throwing, and running with the stick. Formal drills and tactical elements are introduced from U10 when players have enough stick control to participate meaningfully.
Start with wall ball or individual stick work (10 minutes), move to partner passing (10 minutes), add a ground ball drill (8 minutes), and finish with a small-sided game or fast break drill (15 minutes). Keep every player active throughout. Avoid drills where players stand in long lines waiting for a turn.
Wall ball is the most important drill for beginners: it builds cradling and catching simultaneously and can be done alone. Partner passing and ground ball scooping complete the foundational skill set. All three should be in every beginner session before any team or situational work begins.