How to Film Youth Soccer Matches: A Setup Guide
Frederik Hvillum
.jpg)
Step-by-step guide to filming youth soccer matches. Camera placement, angle, power setup, and how to share footage with players and parents after the game.
Filming your youth team's matches is one of the highest-value things you can do as a coach or team manager. Game footage gives you something no training session can replicate: your players performing under real match conditions. One good clip from a game is worth ten verbal reminders at practice.
This guide covers how to set up a camera for youth football and soccer matches, what camera position and angle actually capture useful footage, how to power your camera at an outdoor pitch, and how to share footage with players and parents after the game. It applies to both soccer and American football.
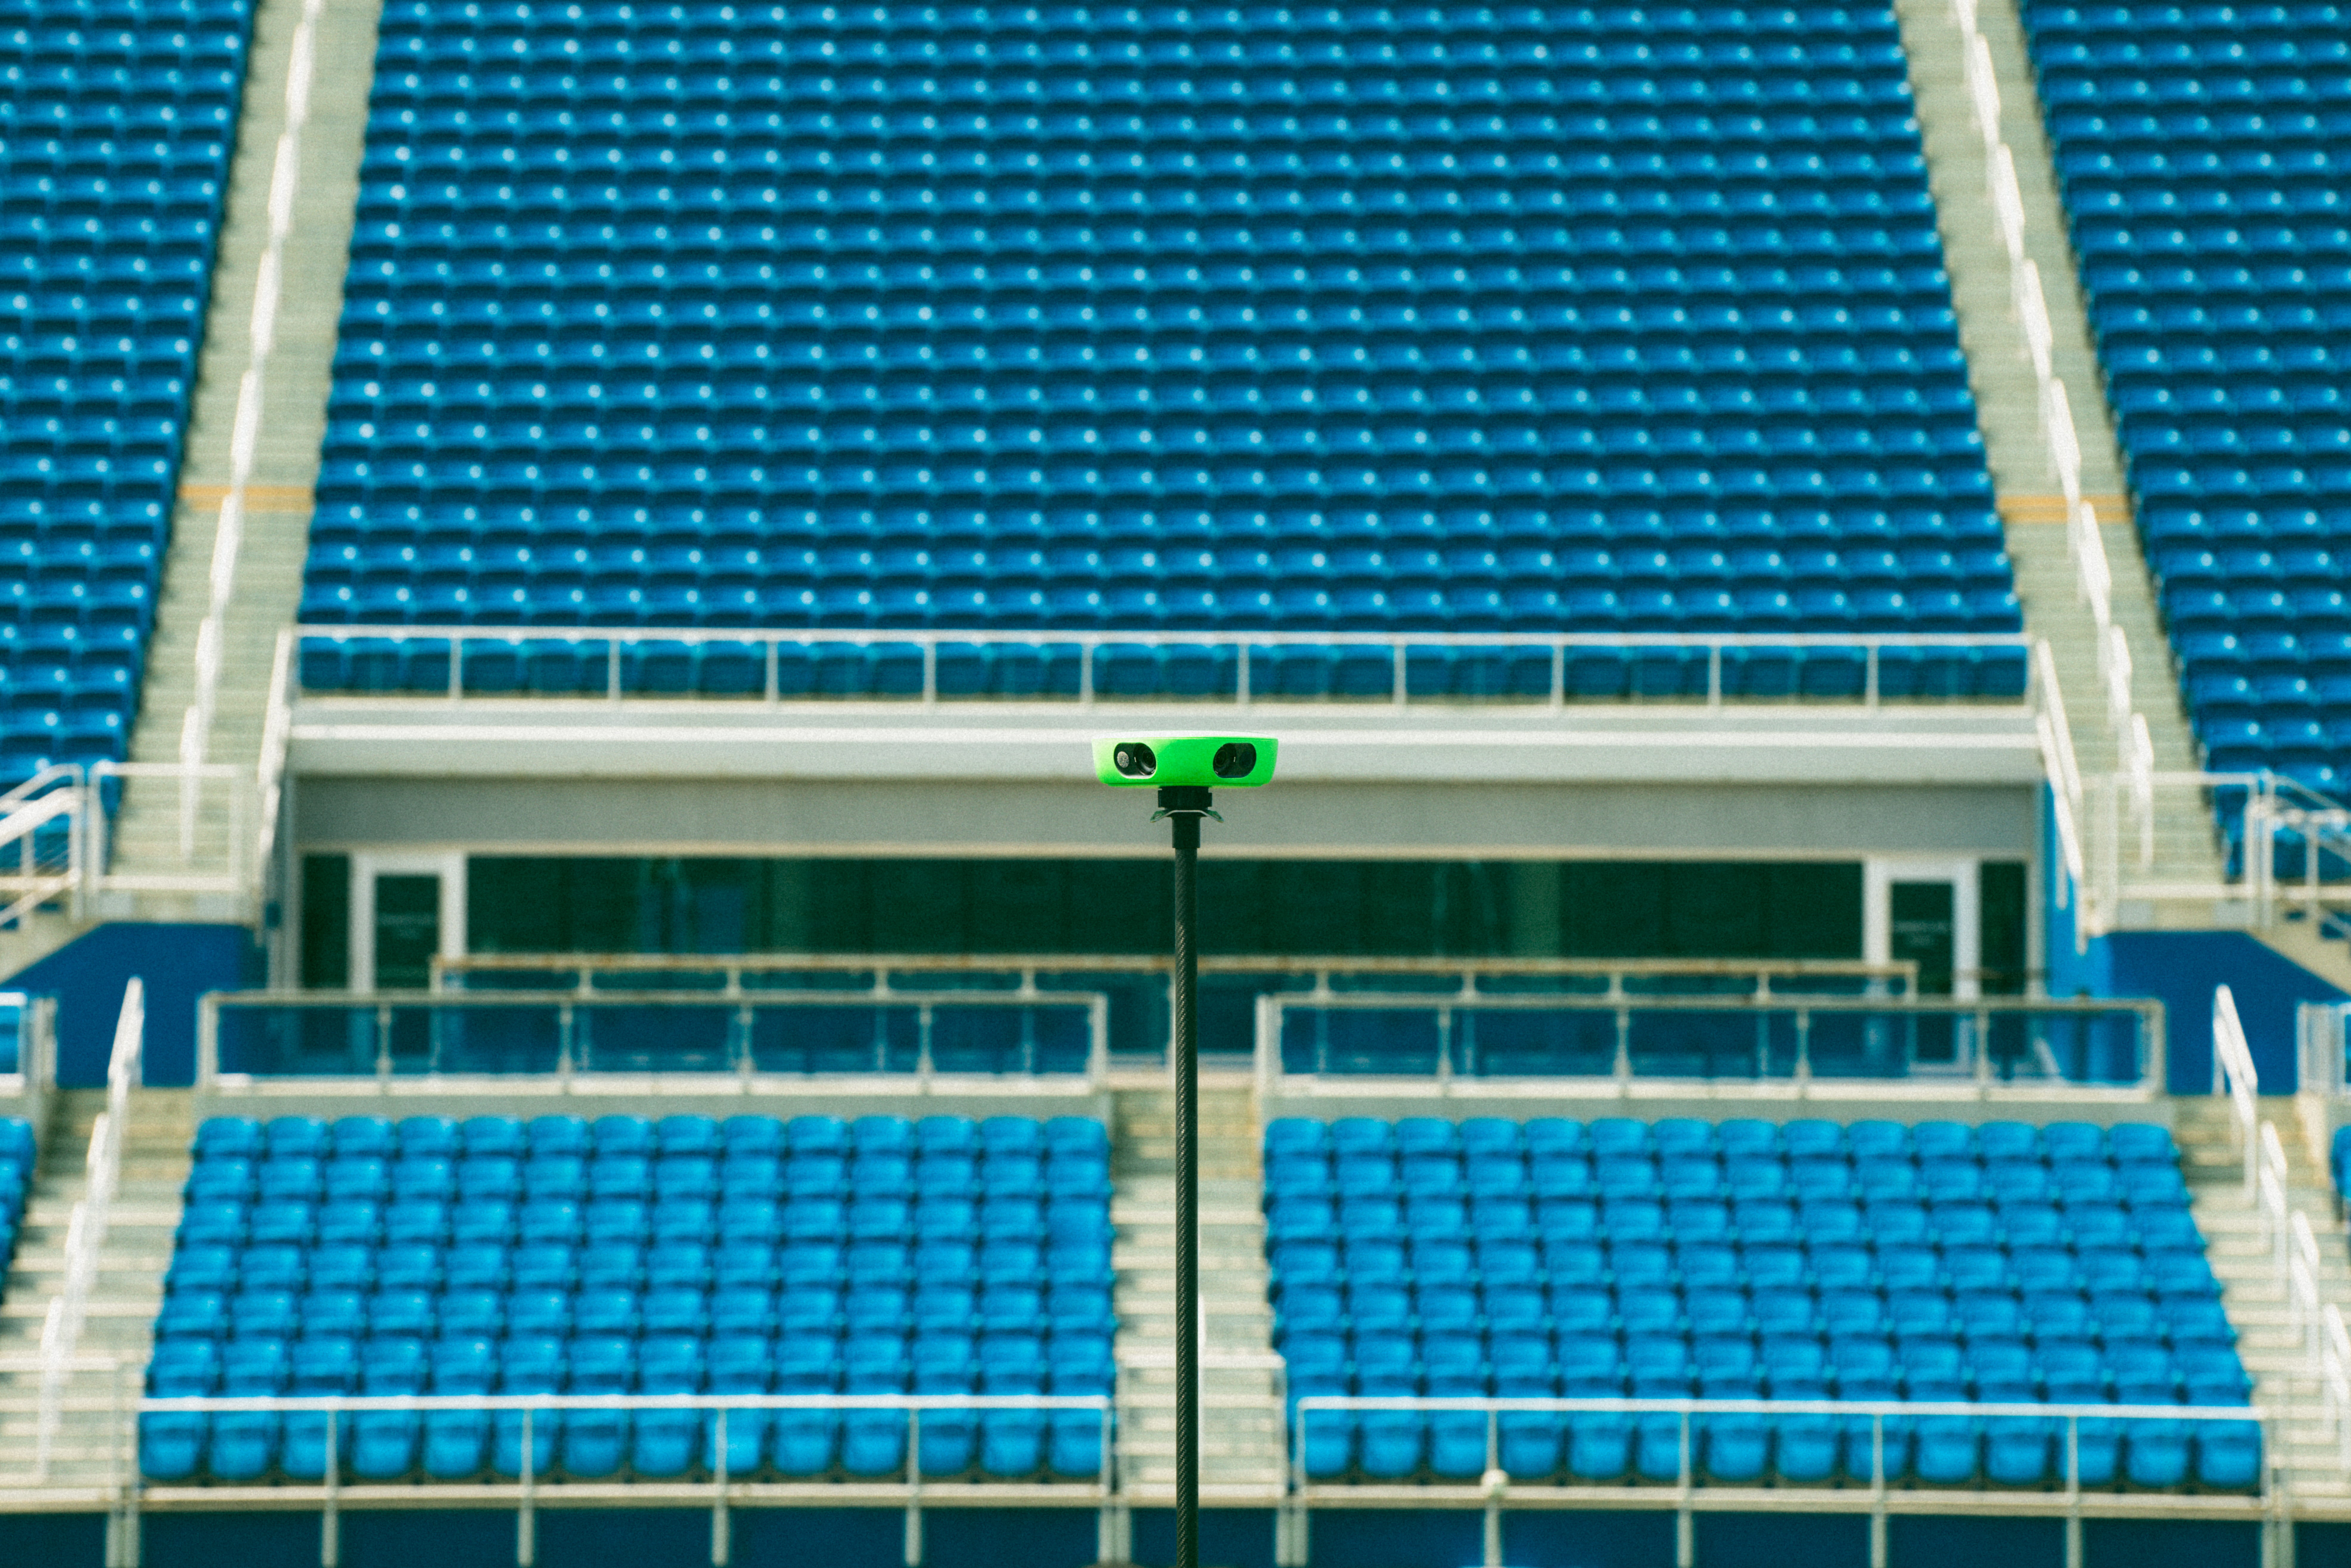
Film your next match with Veo Go
Veo Go sets up in under 2 minutes and records the full match automatically. No camera operator needed. Footage is ready to share with players the same evening.
.jpg)
What makes match footage actually useful
Most youth match footage is too close, too shaky, or covers only half the pitch. That footage has limited coaching value because you cannot see what players who are not near the ball are doing. A defender's positioning when the team is attacking, a midfielder's movement before they receive a pass, a receiver's route before the ball arrives: these are the things coaches need to see and the things a well-positioned camera captures.
Three things that separate useful footage from footage that just shows the ball:
- Wide enough angle to see at least two thirds of the pitch at all times. Tight zooming on the ball loses the tactical picture entirely.
- High enough to see over players on the touchline. A camera at ground level gets blocked by substitutes, parents, and other spectators throughout the game.
- Stable throughout. Handheld footage is exhausting to watch and makes it hard to track player movement. A tripod is not optional.
Camera placement by sport
Step-by-step setup guide
Step 1: Arrive before your players
Camera setup takes time, and you cannot do it well while players are arriving and asking questions. Aim to have the camera positioned and tested at least 15 minutes before kick-off. Walk the touchline before you choose your spot: look for an elevated position (a small bank or hill is ideal), check for obstructions at head height, and confirm you can see both goalposts or both end zones from the position you have chosen.
Step 2: Set the height
Extend your tripod to full height or as close to it as the ground allows. The camera should be above the eyeline of anyone standing on the touchline. At most youth pitches, 3 to 3.5 metres is achievable with a standard tripod extension. If the ground is uneven, check that the tripod is level before locking it. A tilted frame makes footage harder to watch.
Step 3: Set the angle
Point the camera slightly downward so the near touchline or sideline appears in the bottom quarter of the frame. This gives you the full width of the pitch and enough depth to see the far side clearly. If you can see the corner flags on both sides of the pitch, your angle is approximately right.
For soccer: position at the midfield line if possible. For American football: the 50-yard line gives the most balanced view of both sides of the field. If your pitch only has one access point, the slight loss of symmetry is less important than having a clear, stable view.
Step 4: Sort your power supply
The most common reason youth matches go unfilmed is a dead battery. Charge your camera the night before every match, not the morning of. If you are using a camera that requires mains power, a portable power bank rated at 20,000mAh or above will run most sports cameras for a full match. Tape the power cable to the tripod leg so it does not get caught by passing players or spectators.
Step 5: Record a test clip before kick-off
Record 30 seconds before the match starts and review it. Check that the frame is stable, the angle covers both touchlines, and there are no obstructions blocking key areas. Fixing a setup problem before kick-off takes 2 minutes. Fixing it at half-time means you have already lost a half of footage.
.jpg)
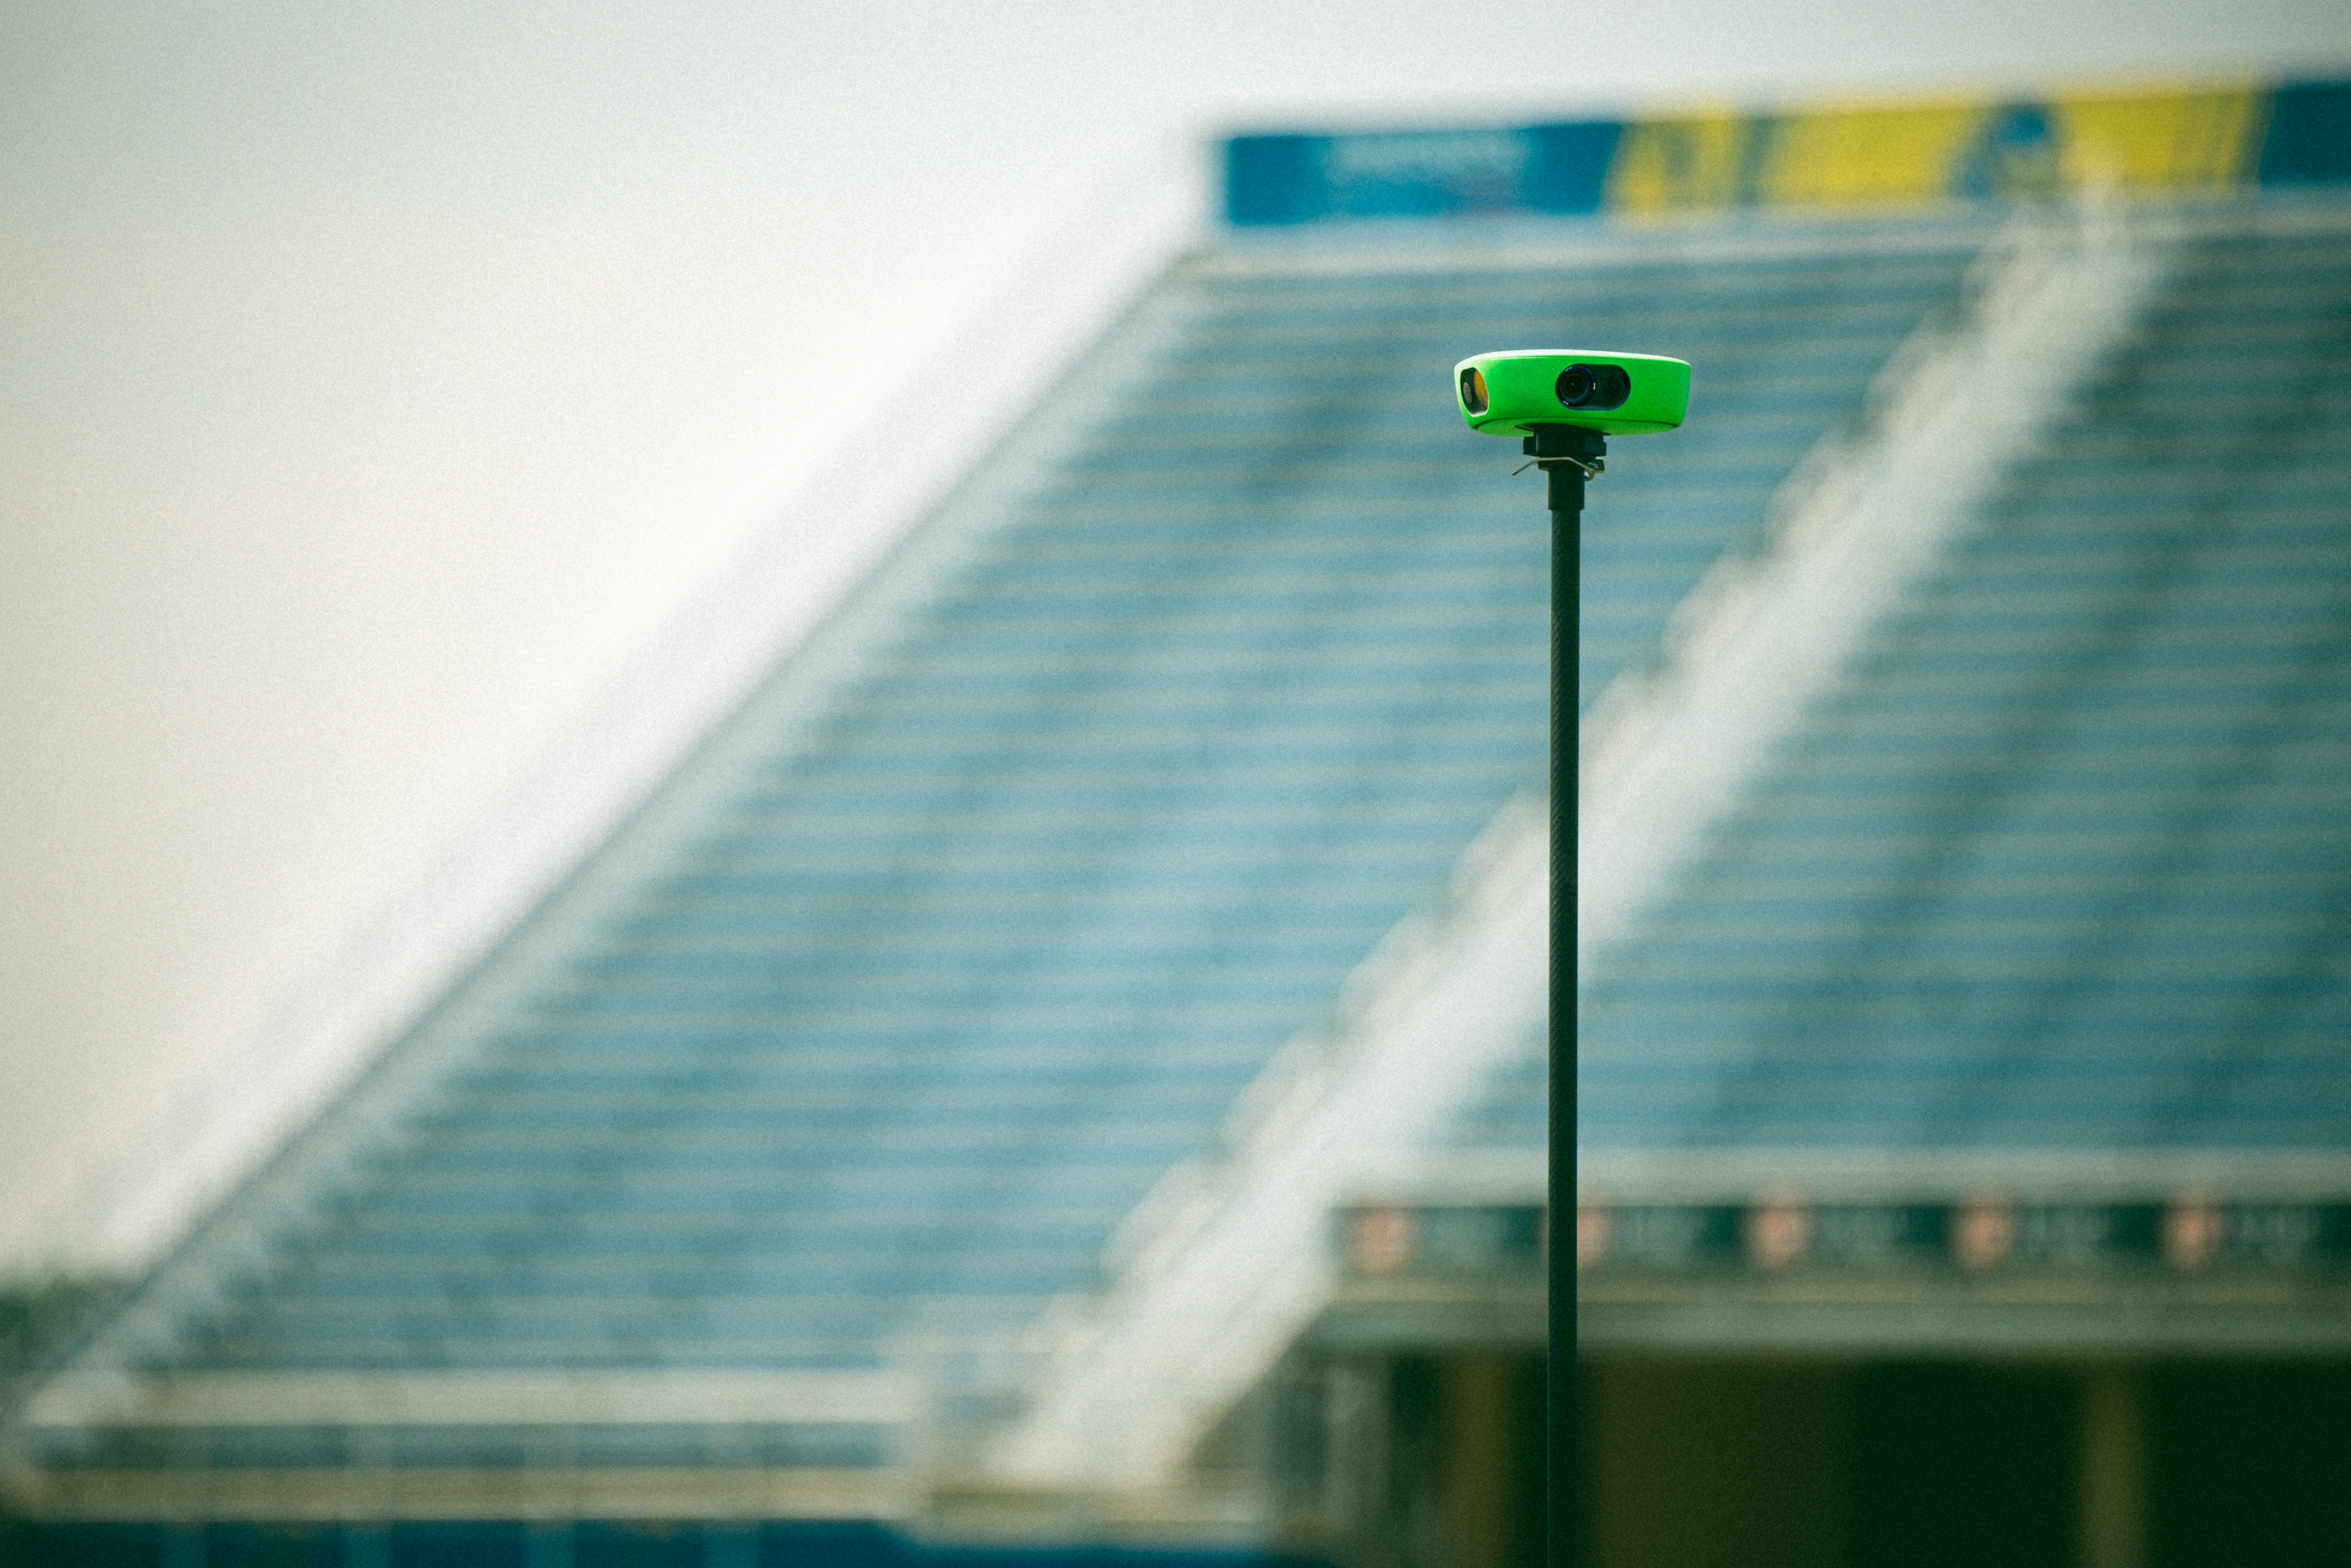
Let Veo Go handle the filming
More than 40,000 clubs across 100 countries use Veo to store and share footage, with over 4 million matches filmed on the platform (Veo internal data, 2026). Veo Go tracks the action automatically throughout the match so coaches can focus on the game.
How Veo Go changes the setup process
The steps above describe manual filming with a standard camera. The main limitation of manual filming is that someone needs to operate the camera throughout the match. A camera operator who pans to follow the ball loses the wide view that makes tactical analysis possible. A camera that is left static will miss large portions of play when the action moves to the far end.
Coaches using Veo Go set up once and leave the camera to record the full match. Veo Go uses AI to track the action automatically, meaning the camera follows the game without a human operator. The footage is uploaded to the Veo platform and available for review the same evening. No cable management, no operator fatigue, no missed goals because the camera was pointing the wrong way.
For a full comparison of filming options for youth football, see best camera for youth football. For how to use match footage as part of your game day coaching routine, see youth soccer game day preparation.
Sharing footage with players and parents
Sharing with players
Footage has the most coaching value when players watch it close to the match. Sharing a clip on the evening of the game, before the next training session, gives players time to process what they saw and arrive at practice with specific questions. Keep the clips short: two or three moments per player is more useful than sending the full 90 minutes and expecting players to find the relevant sections themselves.
Sharing with parents
Parents who could not attend the match particularly value receiving a link to the footage. It creates a connection to the team that matters for player retention and club loyalty. If you are sharing footage publicly or on a shared platform, check your club's data protection policy around filming minors and confirm that all parents have provided consent for their child to be filmed.
Storage and organisation
Label footage by date and opponent before uploading it anywhere. A folder of untitled video files becomes useless within a few weeks. A simple naming convention (2026-03-15 vs Town FC U12) means you can find any match in seconds when you need it during a session.
For how to integrate match footage into your practice sessions, see the youth soccer practice guide
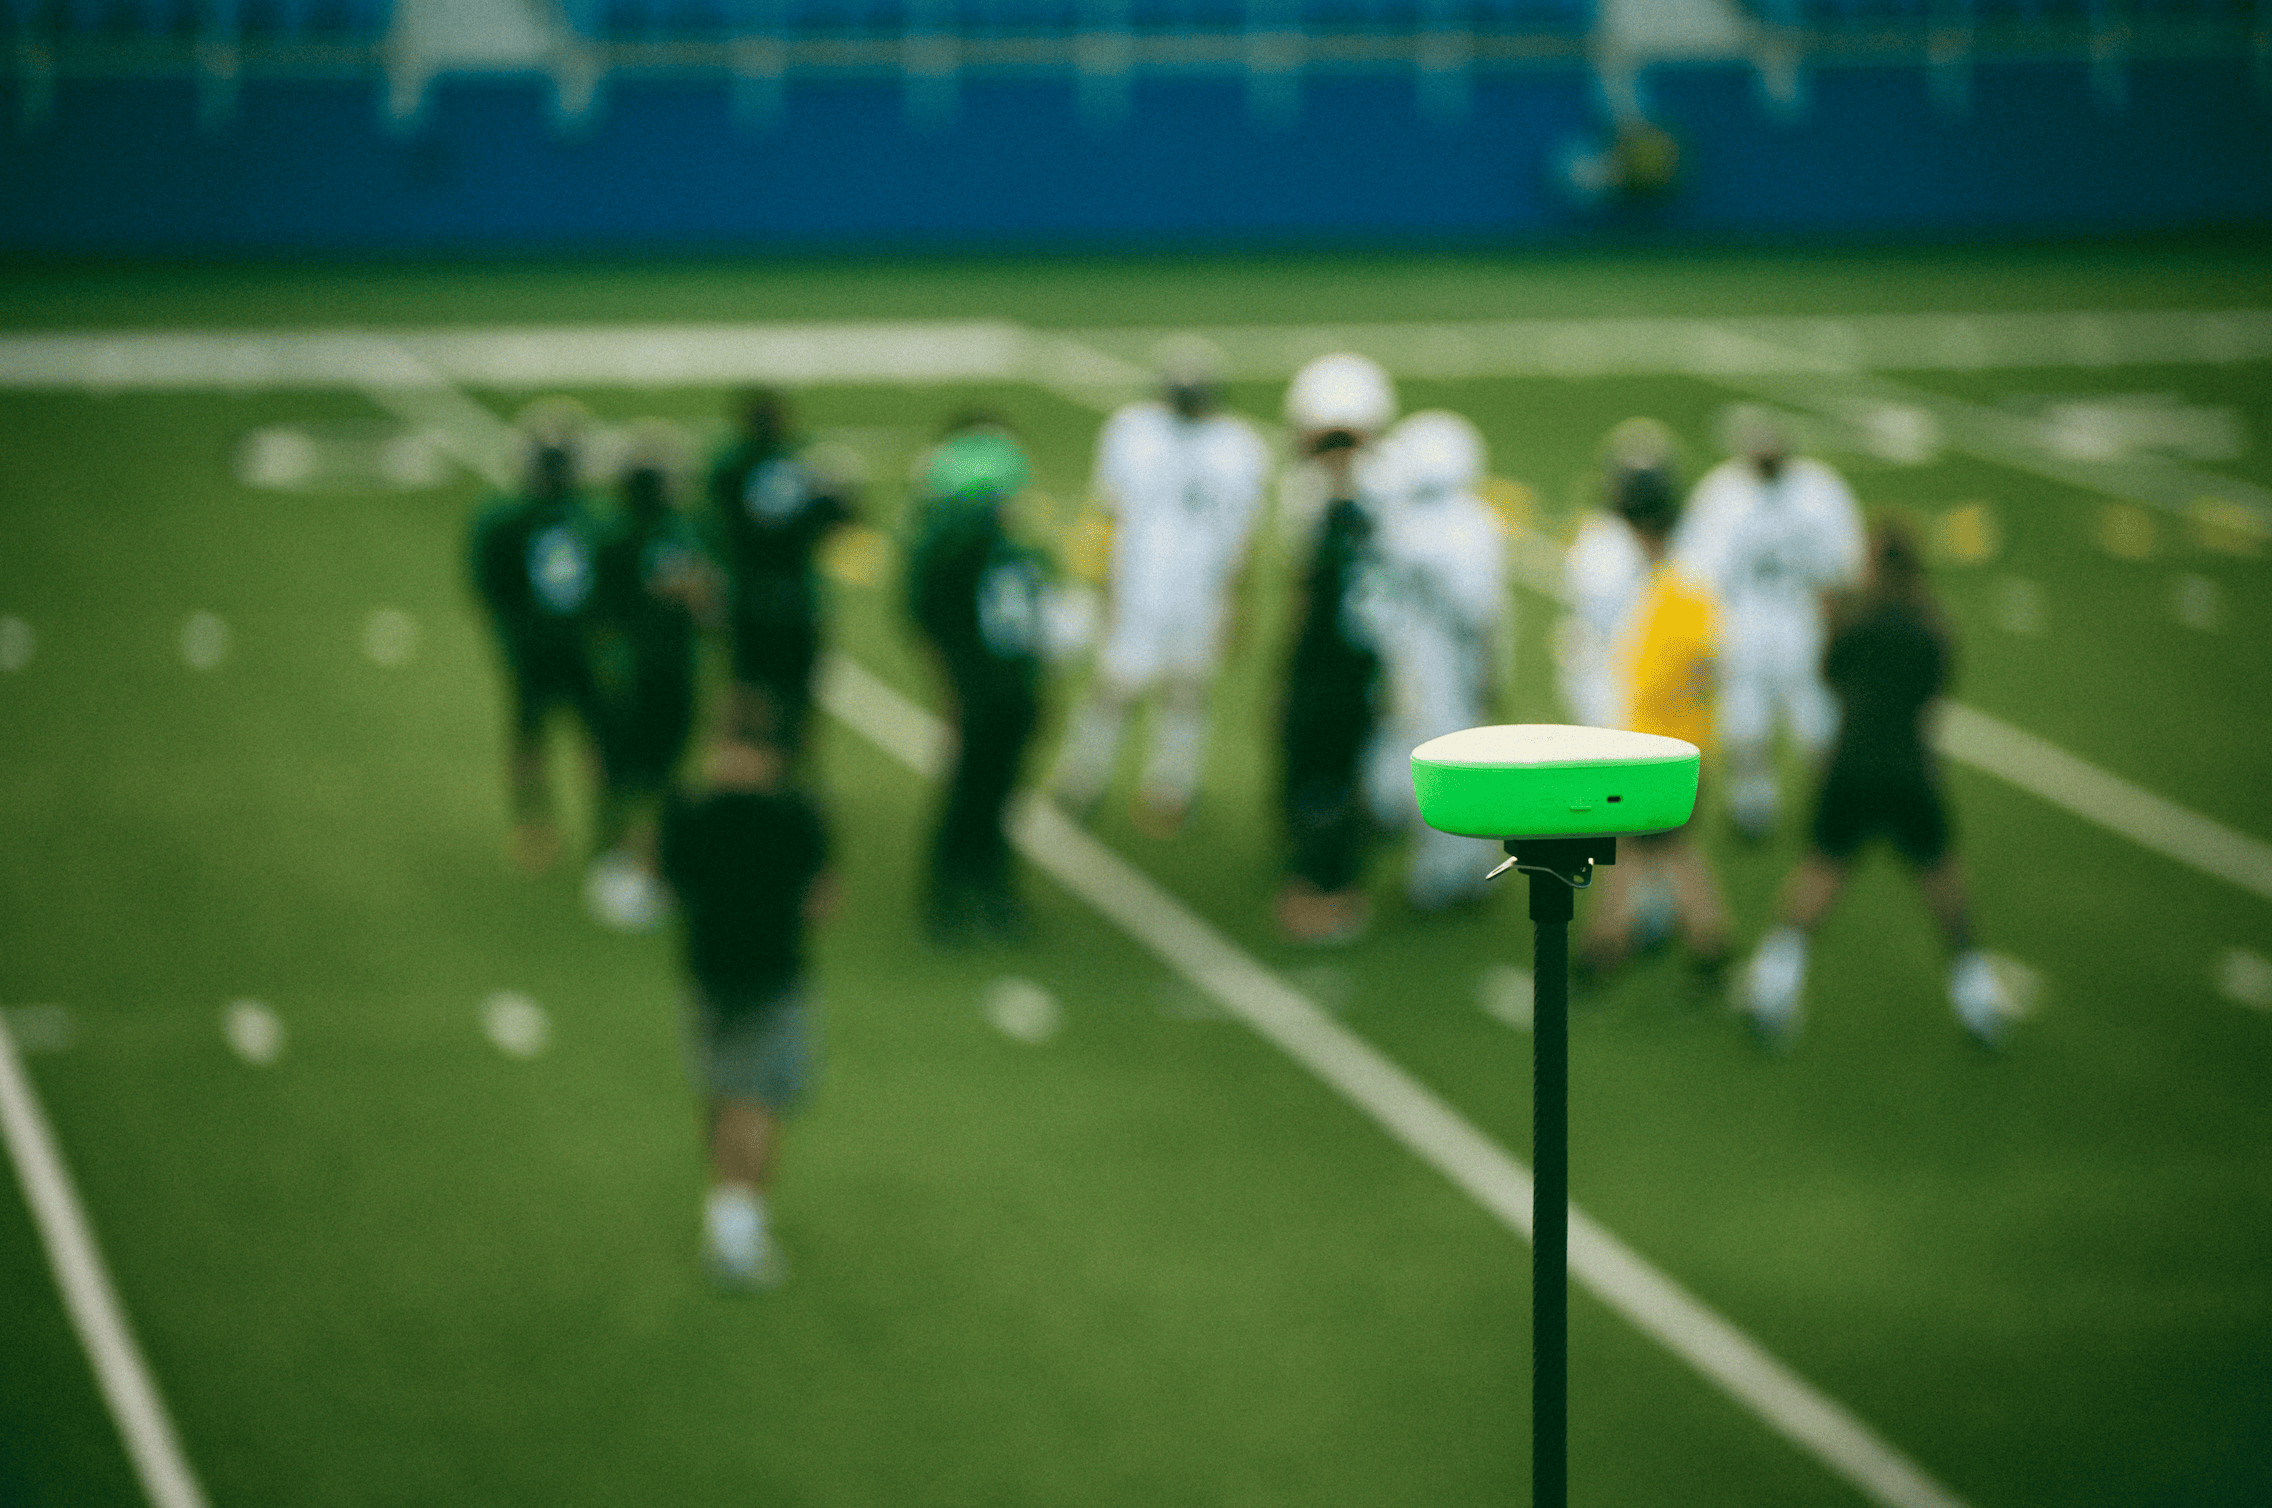
Start filming matches this weekend
Veo Go sets up in under 2 minutes. Full match footage ready to share with players and parents the same evening.
.jpg)

FAQs
Position your camera at the midfield line, elevated above touchline level using a tripod at full extension. Point it slightly downward so both touchlines are visible in the frame. The goal is a wide, stable view that shows at least two thirds of the pitch at any time. Avoid positioning too close to the pitch, which cuts players off at the edges of the frame.
A camera with a wide-angle lens or zoom capability, a tripod that extends to at least 2.5 metres, and a reliable power source. For AI-powered automatic filming without a camera operator, Veo Go handles setup, tracking, and upload in one system.
Set your camera to a fixed wide-angle position covering the full pitch and leave it recording throughout the match. The limitation is that a fixed camera misses play at the far end. AI-powered cameras like Veo Go track the action automatically, giving you useful footage across the full pitch without a human operator.
Upload the footage to a shared platform and send parents a link on the evening of the match. Veo stores footage on its platform with shareable links. Before sharing footage involving minors, confirm that all parents have consented to their child being filmed and that your sharing method complies with your club's data protection policy.
With a standard tripod and camera, allow 10 to 15 minutes including finding the right position and recording a test clip. With Veo Go, setup takes under 2 minutes. Either way, arriving before players do makes setup straightforward. Trying to set up while managing pre-match preparation leads to missed kick-offs and poor camera positioning.