Indoor Baseball Drills: A Complete Guide for Youth Coaches
Frederik Hvillum
.jpg)
The best indoor baseball drills for youth coaches. Hitting, fielding, throwing, and pitching drills that work in a gym or limited space, with coaching cues for each.
Winter and bad weather do not have to stop player development. The skills that matter most in baseball, hitting mechanics, fielding footwork, throwing mechanics, and pitching delivery, can all be developed indoors with the right drills and minimal equipment. Indoor practice also offers one advantage that outdoor practice rarely does: a controlled environment where you can film and review mechanics without wind, sun, or distractions affecting the footage.
This guide covers six indoor baseball drills for youth coaches, each designed to work in a gym or similar limited space. Each drill includes setup notes, coaching cues, and guidance on what to look for when reviewing footage.
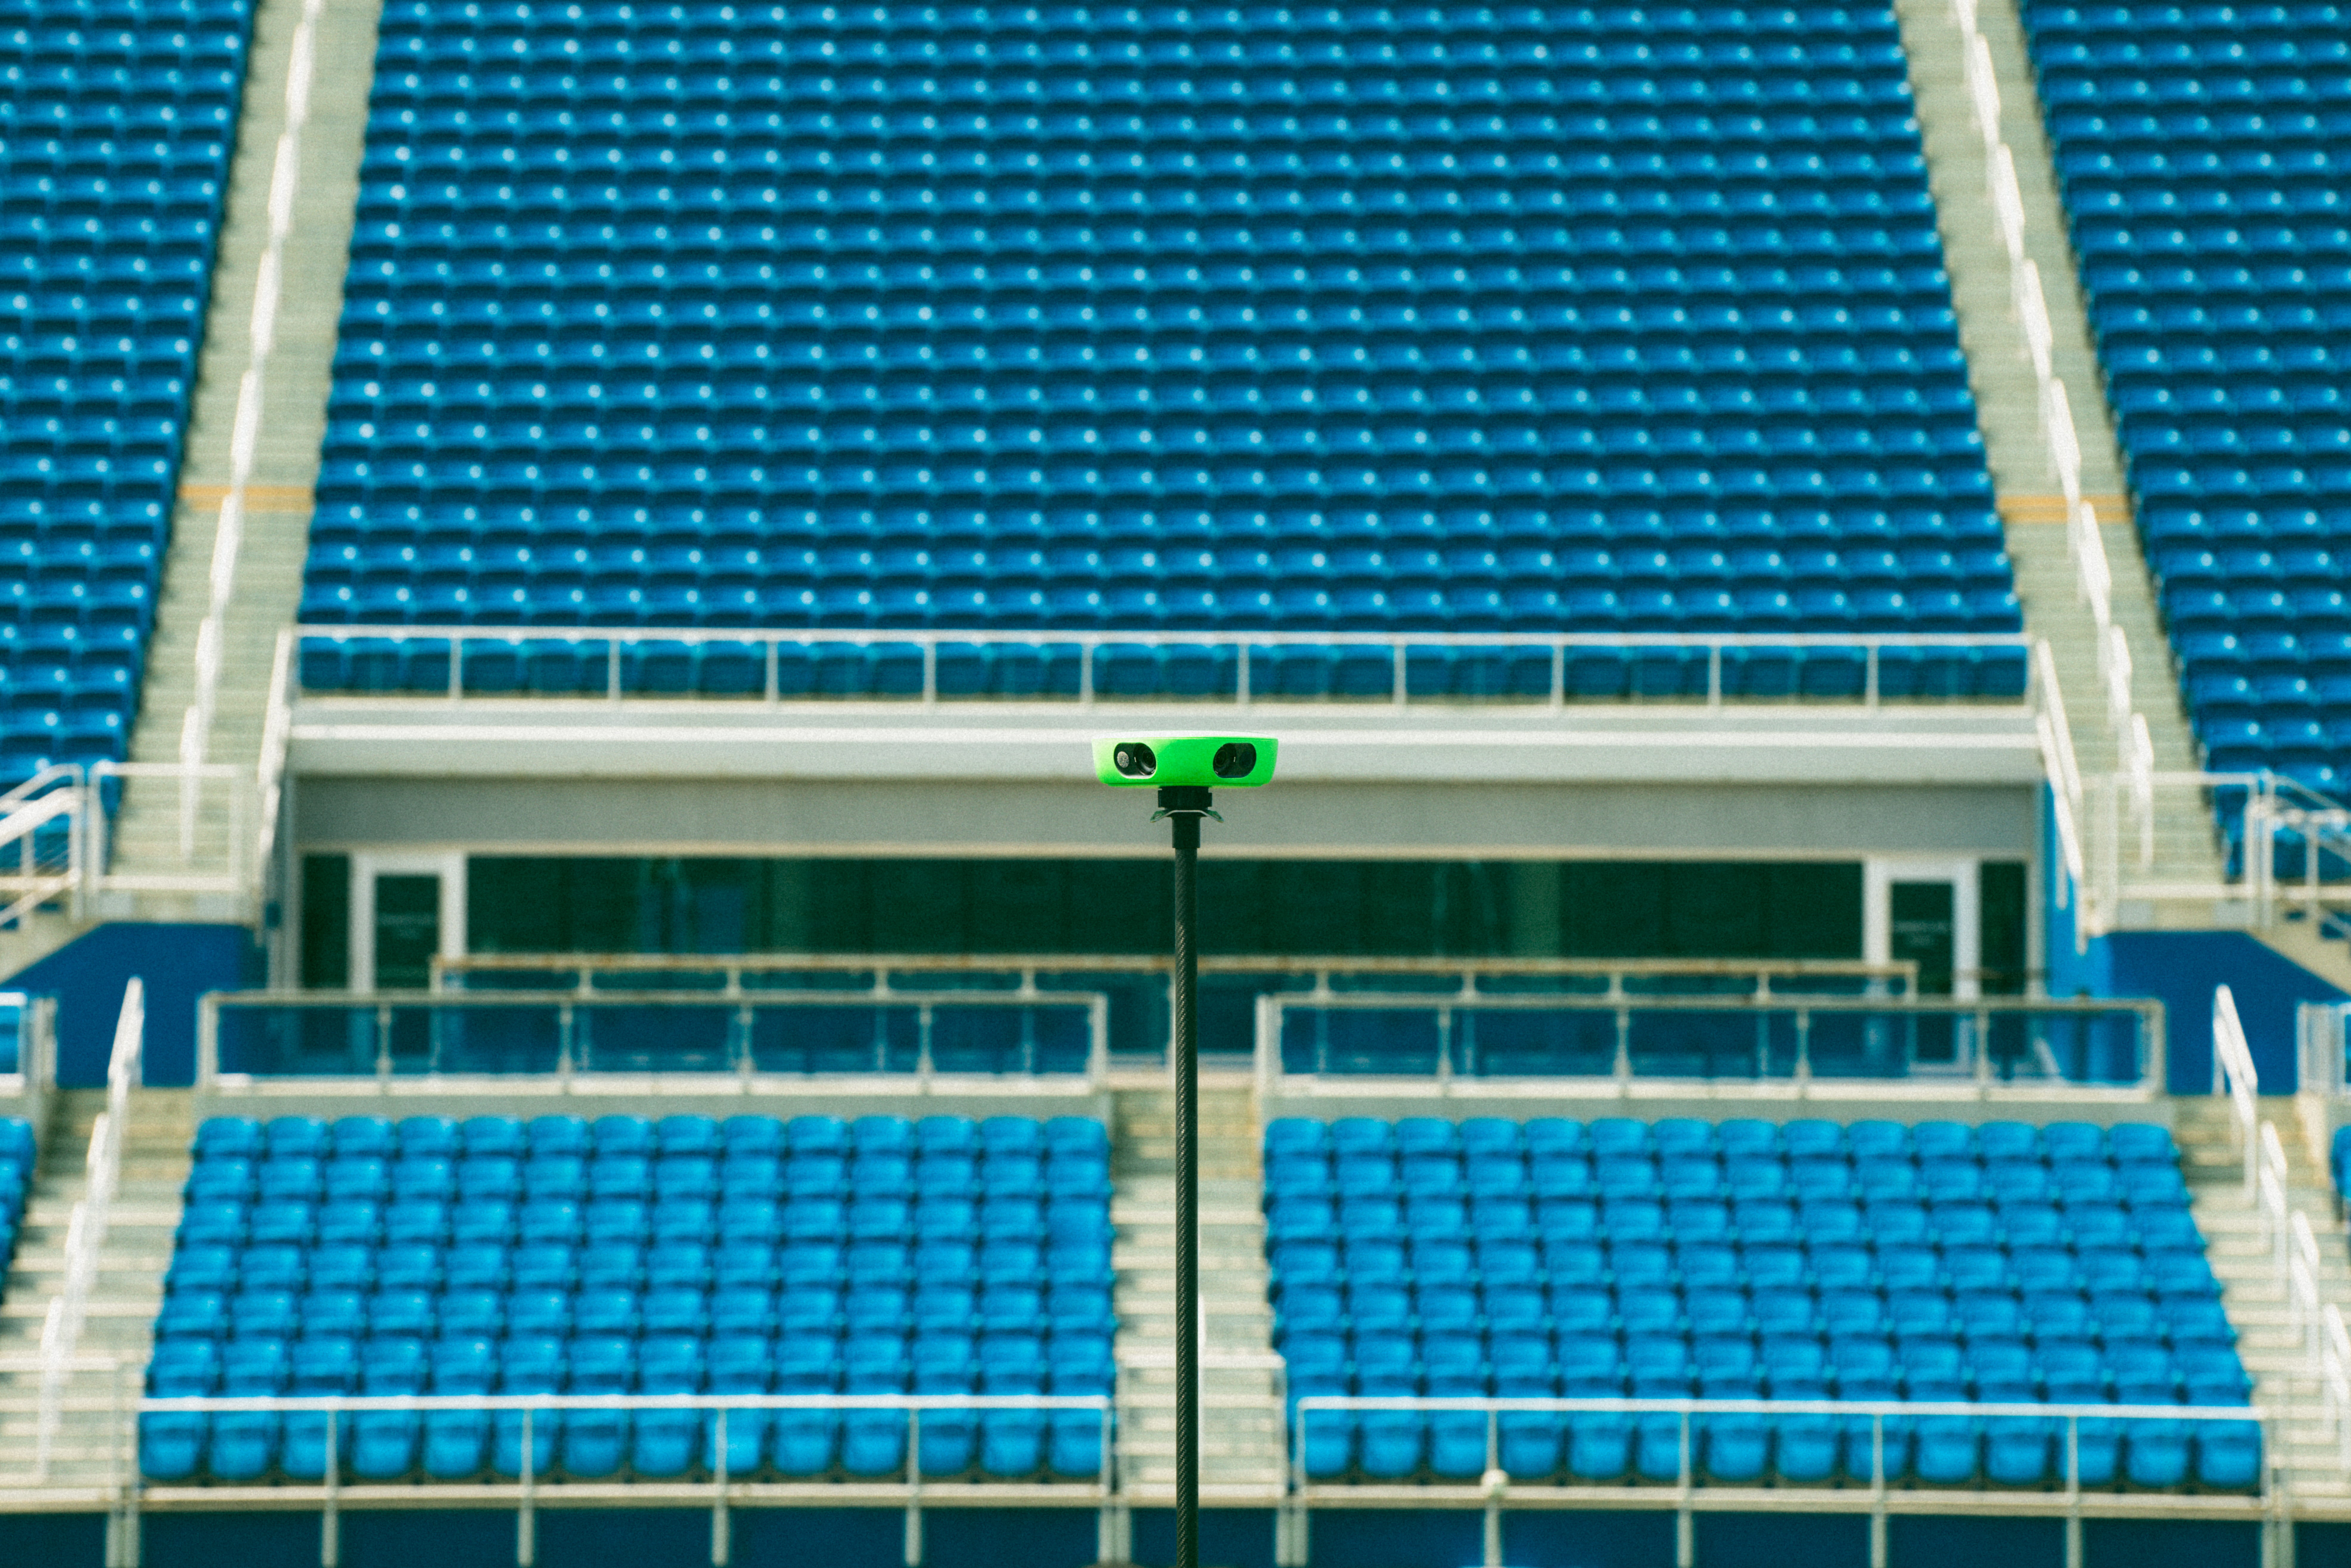
Film mechanics in slow motion with Veo Go
Indoor sessions are ideal for video review. Veo Go sets up in under 2 minutes and captures full session footage automatically. Review swing sequence and fielding footwork the same evening.

What indoor practice is actually good for
Indoor practice is not a substitute for outdoor baseball. Live pitching, fly balls, and game-speed base running need space that most gyms do not provide. What indoor practice excels at is mechanical repetition in a controlled environment: swing sequences on a tee, fielding footwork through rapid-fire grounders, throwing mechanics at short distance, and pitching delivery without a mound.
Players who use the winter months to ingrain correct mechanics arrive at the spring season ahead of players who did nothing. The gap between a player who took 500 tee swings over the winter and one who did not is visible from the first outdoor practice.
For how to structure these drills into a full practice plan, see the youth baseball coaching tips guide.
Drill overview
The drills
Drill 1: Tee work against a net
Set up a hitting tee at the correct height for each player (bottom of the strike zone, roughly at the hitter's front knee). Position a net 2 to 3 metres in front. Players take 20 swings in sets of five, resetting their stance between each set. Focus on the swing sequence: load, stride, hip rotation, contact, follow-through. Do not focus on where the ball goes into the net.
Coaching cue: "Hit through the ball. Your swing finishes over your shoulder. If it stops at contact, your follow-through is doing nothing for you."
What to watch on video: Set up the camera at a 45-degree angle behind the hitter. This angle shows the load, stride, hip rotation, and contact point clearly. Players who drop their back shoulder, swing around the ball, or miss the load entirely are identifiable within three swings. Indoor sessions are the best time to film hitting mechanics because the controlled background and consistent lighting make the footage easier to read.
Drill 2: Soft toss
A feeder kneels or sits to the side of the hitter at approximately 45 degrees, 3 to 4 metres away, and tosses the ball underhand into the hitting zone. The hitter takes 15 to 20 swings per set. Soft toss introduces timing without the speed of live pitching. It allows the coach to control the location of the ball precisely: inside, outside, up, down.
Coaching cue: "Wait on the ball. Soft toss is slower than live pitching. Players who swing early are telling you their timing is too aggressive. Load later, not earlier."
Age note: Appropriate from U8. At U6, stick with tee work until players can track a moving ball reliably. Introducing soft toss too early produces swings at air rather than at the ball, which builds bad habits rather than correcting them.
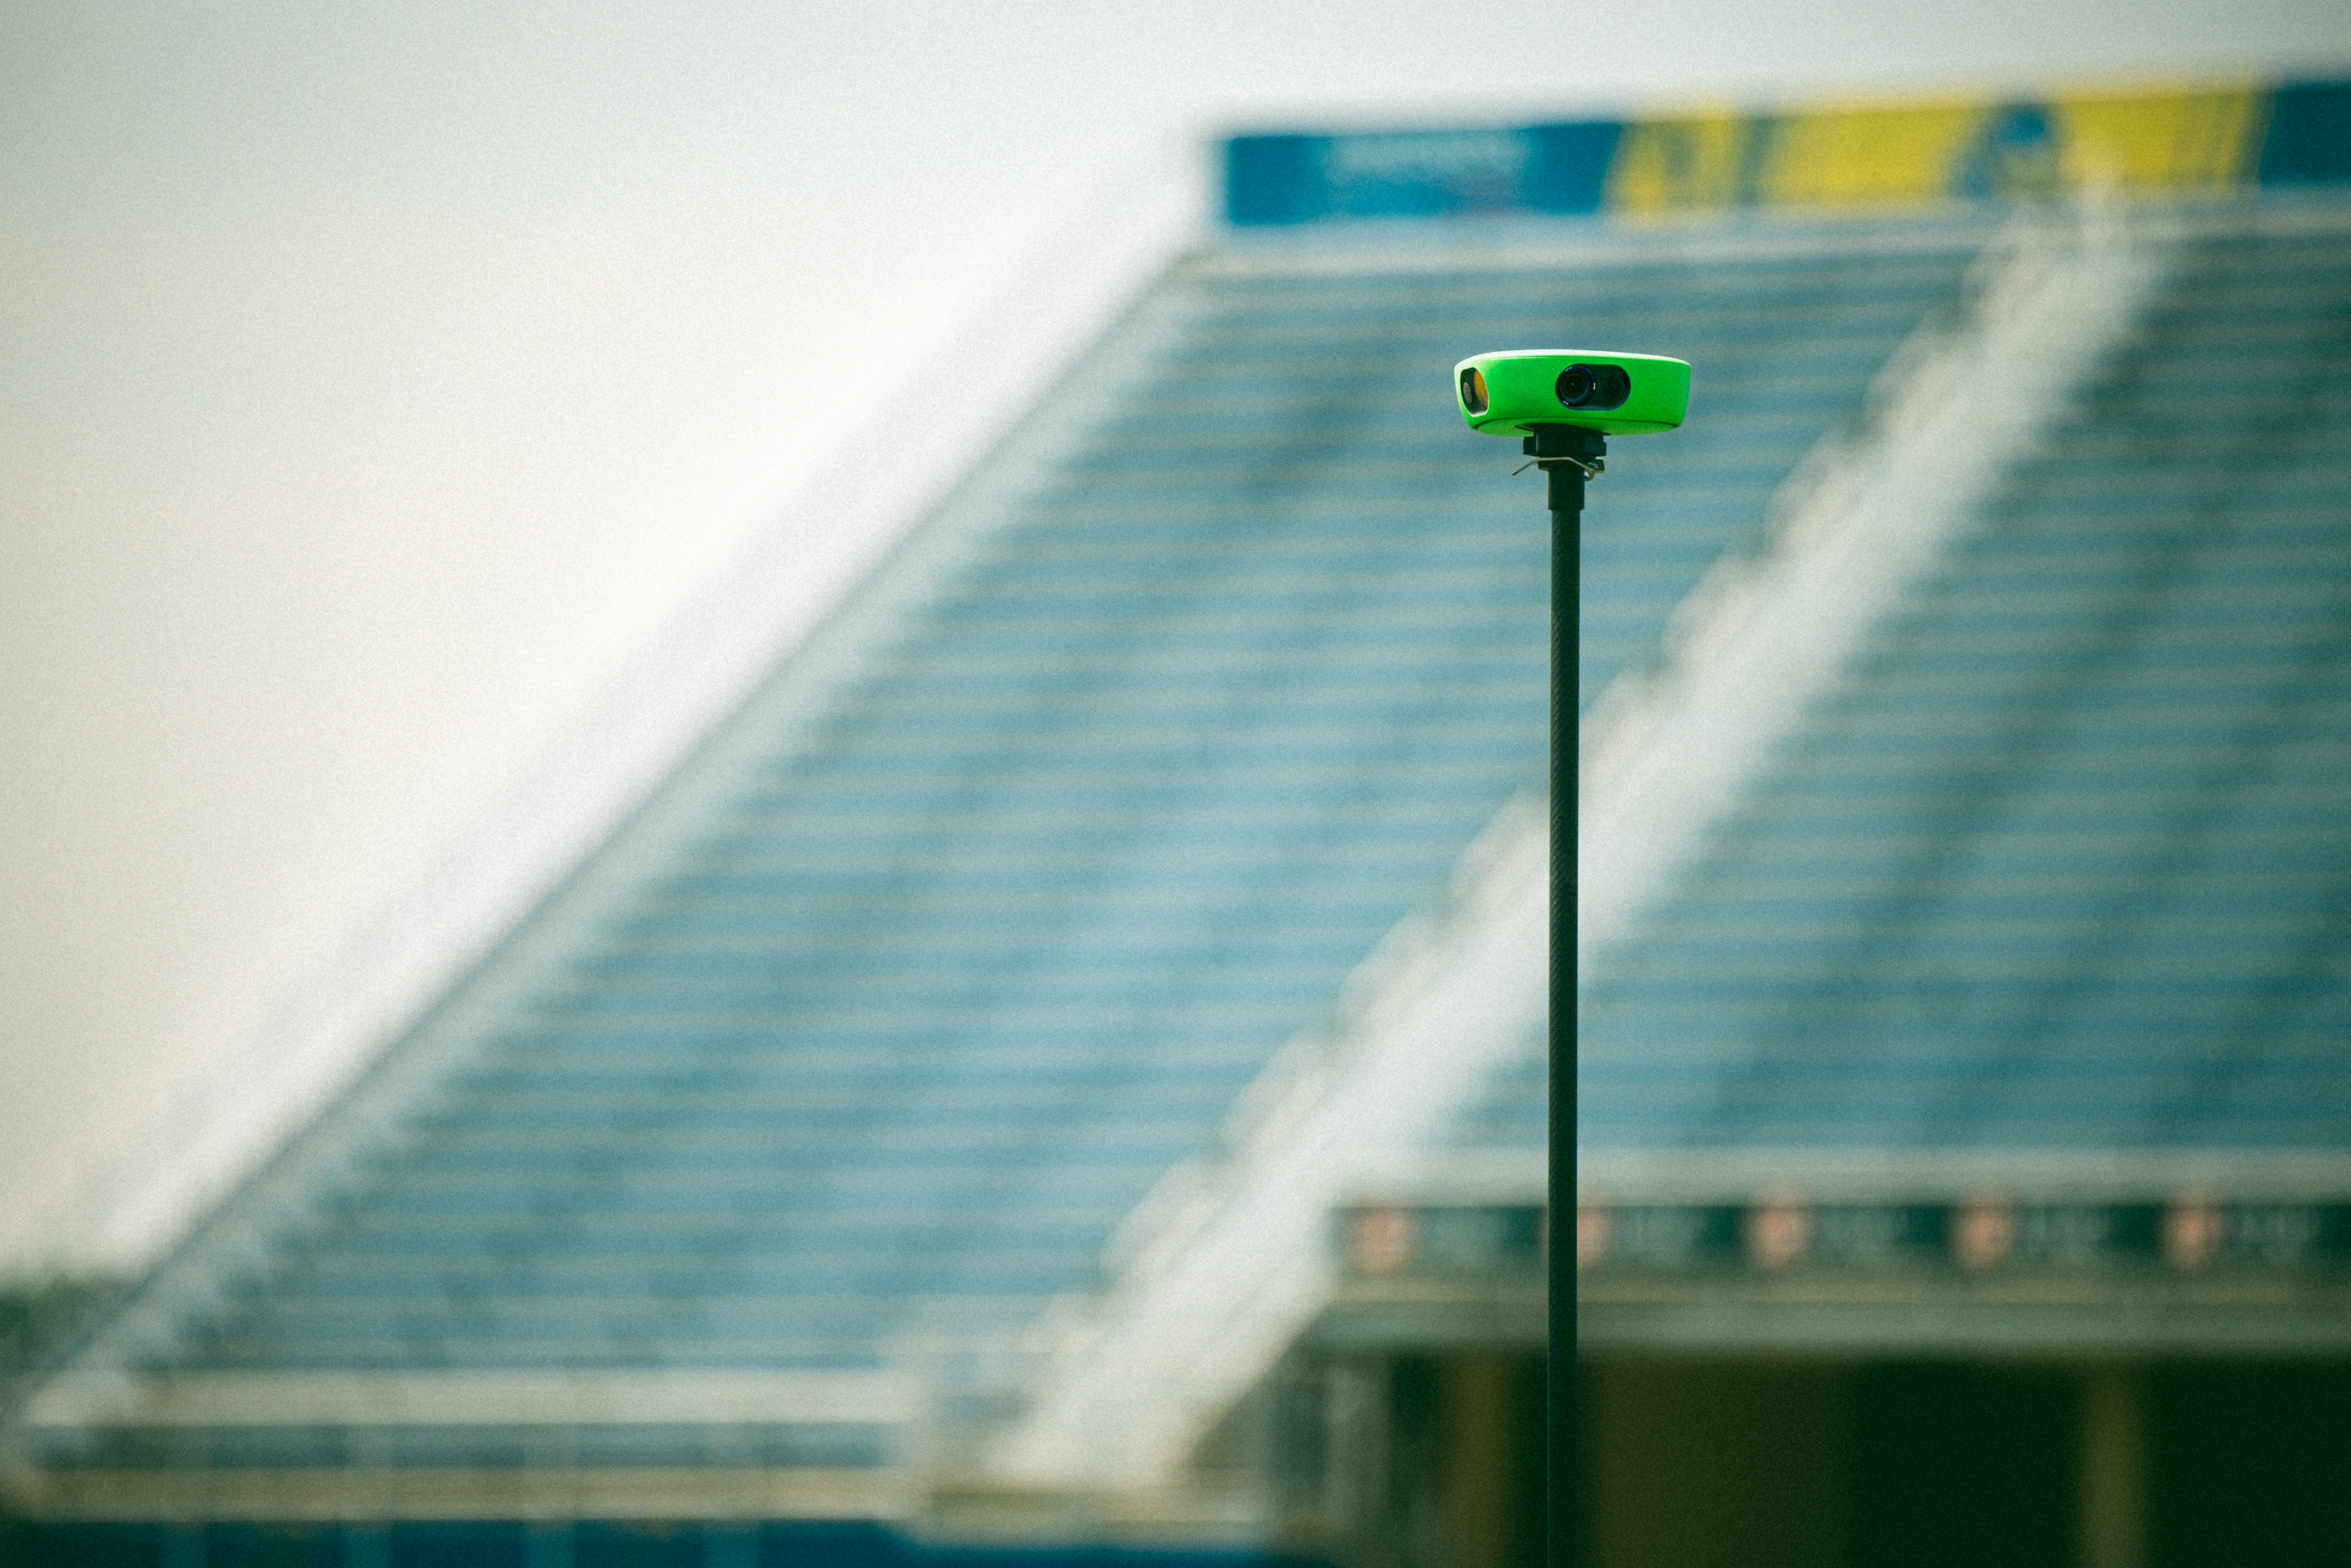
.jpg)
Review swing mechanics before the next session
More than 40,000 clubs across 100 countries use Veo to store and share footage, with over 4 million matches filmed on the platform (Veo internal data, 2026). Veo Go captures tee work and soft toss in slow motion so coaches can identify mechanical errors before they become habits.
Drill 3: Rapid-fire fielding
The coach stands 6 to 8 metres from the fielder with a bucket of tennis balls or soft training balls. The coach rolls or bounces ground balls in quick succession: right, left, straight, right again. The fielder moves to each ball, fields it with correct footwork, and tosses it aside without returning it to the coach. Run for 10 repetitions per fielder, then rotate. The rapid-fire format forces movement rather than waiting.
Coaching cue: "Move to the ball, do not wait for it. Your first step is the most important one. A late first step means you are fielding off your heels instead of in front of your body."
Equipment note: Use tennis balls or soft training balls indoors. Hard baseballs on a gym floor create unpredictable bounces and risk injury. Most youth players develop the same fielding habits with a tennis ball as with a regulation ball at this drill pace.
Drill 4: Short-distance throwing
Players pair up at 30 feet apart and throw for 10 minutes, focusing entirely on mechanics. The distance is short by design: shorter throws allow players to execute correct mechanics without the temptation to muscle the ball. After 5 minutes of focused mechanics work, players step back to 45 feet and complete another 5 minutes. No throwing beyond 60 feet indoors without high ceilings and adequate space.
Coaching cue: "At 30 feet you should not need your arm. Use your hip. If your hip is rotating correctly, 30 feet is easy. If you are muscling the ball at 30 feet, your mechanics are the problem."
Safety note: Throwing indoors requires adequate ceiling height and side space. Keep all players throwing in the same direction to avoid cross-trajectory throws. Use soft training balls if ceiling height is restricted.
Drill 5: Wall reaction drill
Each player stands 1.5 metres from a smooth wall. They throw a tennis ball against the wall at mid-height and catch the return with their glove hand. The unpredictable rebound angle trains reaction time and soft hands. Run for 8 minutes: 4 minutes glove hand only, 4 minutes alternating hands. Players who are proficient can step closer to the wall to increase the reaction speed required.
Coaching cue: "Give with your glove. The ball should deaden when it hits your glove, not bounce out. Your glove hand pulls back slightly on contact to absorb the ball."
Age note: Appropriate for all ages. At U6 and U8, increase the starting distance to 2 metres. The wall reaction drill is one of the few indoor drills that works well as a self-directed warmup, meaning players can run it independently while the coach sets up other stations.
Read more about baseball drills for kids in this guide.
Drill 6: Pitching mechanics walk-through
Pitchers work through their full delivery at slow speed without a ball. The sequence: stance, pivot, leg lift, stride, hip rotation, arm circle, release point, follow-through. Each step is held for two seconds before moving to the next. The coach observes from the side and from behind. After five slow-motion walk-throughs, players add a soft ball and complete the sequence at half speed against a wall or net.
Coaching cue: "Your stride foot points at the target. If your foot lands closed, your hip cannot open fully. Everything after a closed stride is compensation."
What to watch on video: Film from directly to the side. The slow-motion walk-through at indoor practice is one of the best opportunities to film pitching mechanics because the speed is controlled, the lighting is consistent, and the coach can stop and restart the sequence as needed.
Why indoor practice is the best time to film mechanics
Outdoor practice involves moving players, unpredictable lighting, and coaches managing multiple groups simultaneously. Indoor practice is controlled. The same gym, the same lighting, the same camera position every session. That consistency makes footage more comparable across sessions and easier to use for tracking mechanical improvement over the winter.
Coaches using Veo Go set the camera up at the start of the indoor session and let it record automatically. Hitting footage from October compared to hitting footage from February shows mechanical development clearly. That comparison is one of the most powerful tools available to a youth baseball coach.
For camera positioning at indoor practice, the same principles apply as outdoor. See how to film youth matches for the full setup guide.
Build a mechanical record this winter
Veo Go records every indoor session automatically. Compare October footage with February footage and show players exactly how far they have come.

FAQs
Yes, and indoor conditions often produce better footage than outdoor practice. Consistent lighting, a controlled background, and the ability to position the camera at a fixed angle without wind or sun interference make indoor mechanical footage easier to read and compare across sessions. A side angle for hitting and pitching, and a rear angle for fielding footwork, are the most useful positions.
Tee work, soft toss, rapid-fire fielding, short-distance throwing, wall reaction drills, and pitching mechanics walk-throughs all work indoors with minimal equipment. The key is using soft training balls or tennis balls where space is limited and adapting throwing distances to the ceiling height and floor space available.
Use a station-based format to keep every player active. Three stations running simultaneously: one hitting station with a tee or soft toss against a net, one fielding station with rapid-fire ground balls, and one throwing or pitching mechanics station. Rotate every 8 to 10 minutes. Finish with a team talk on one coaching point from the session.
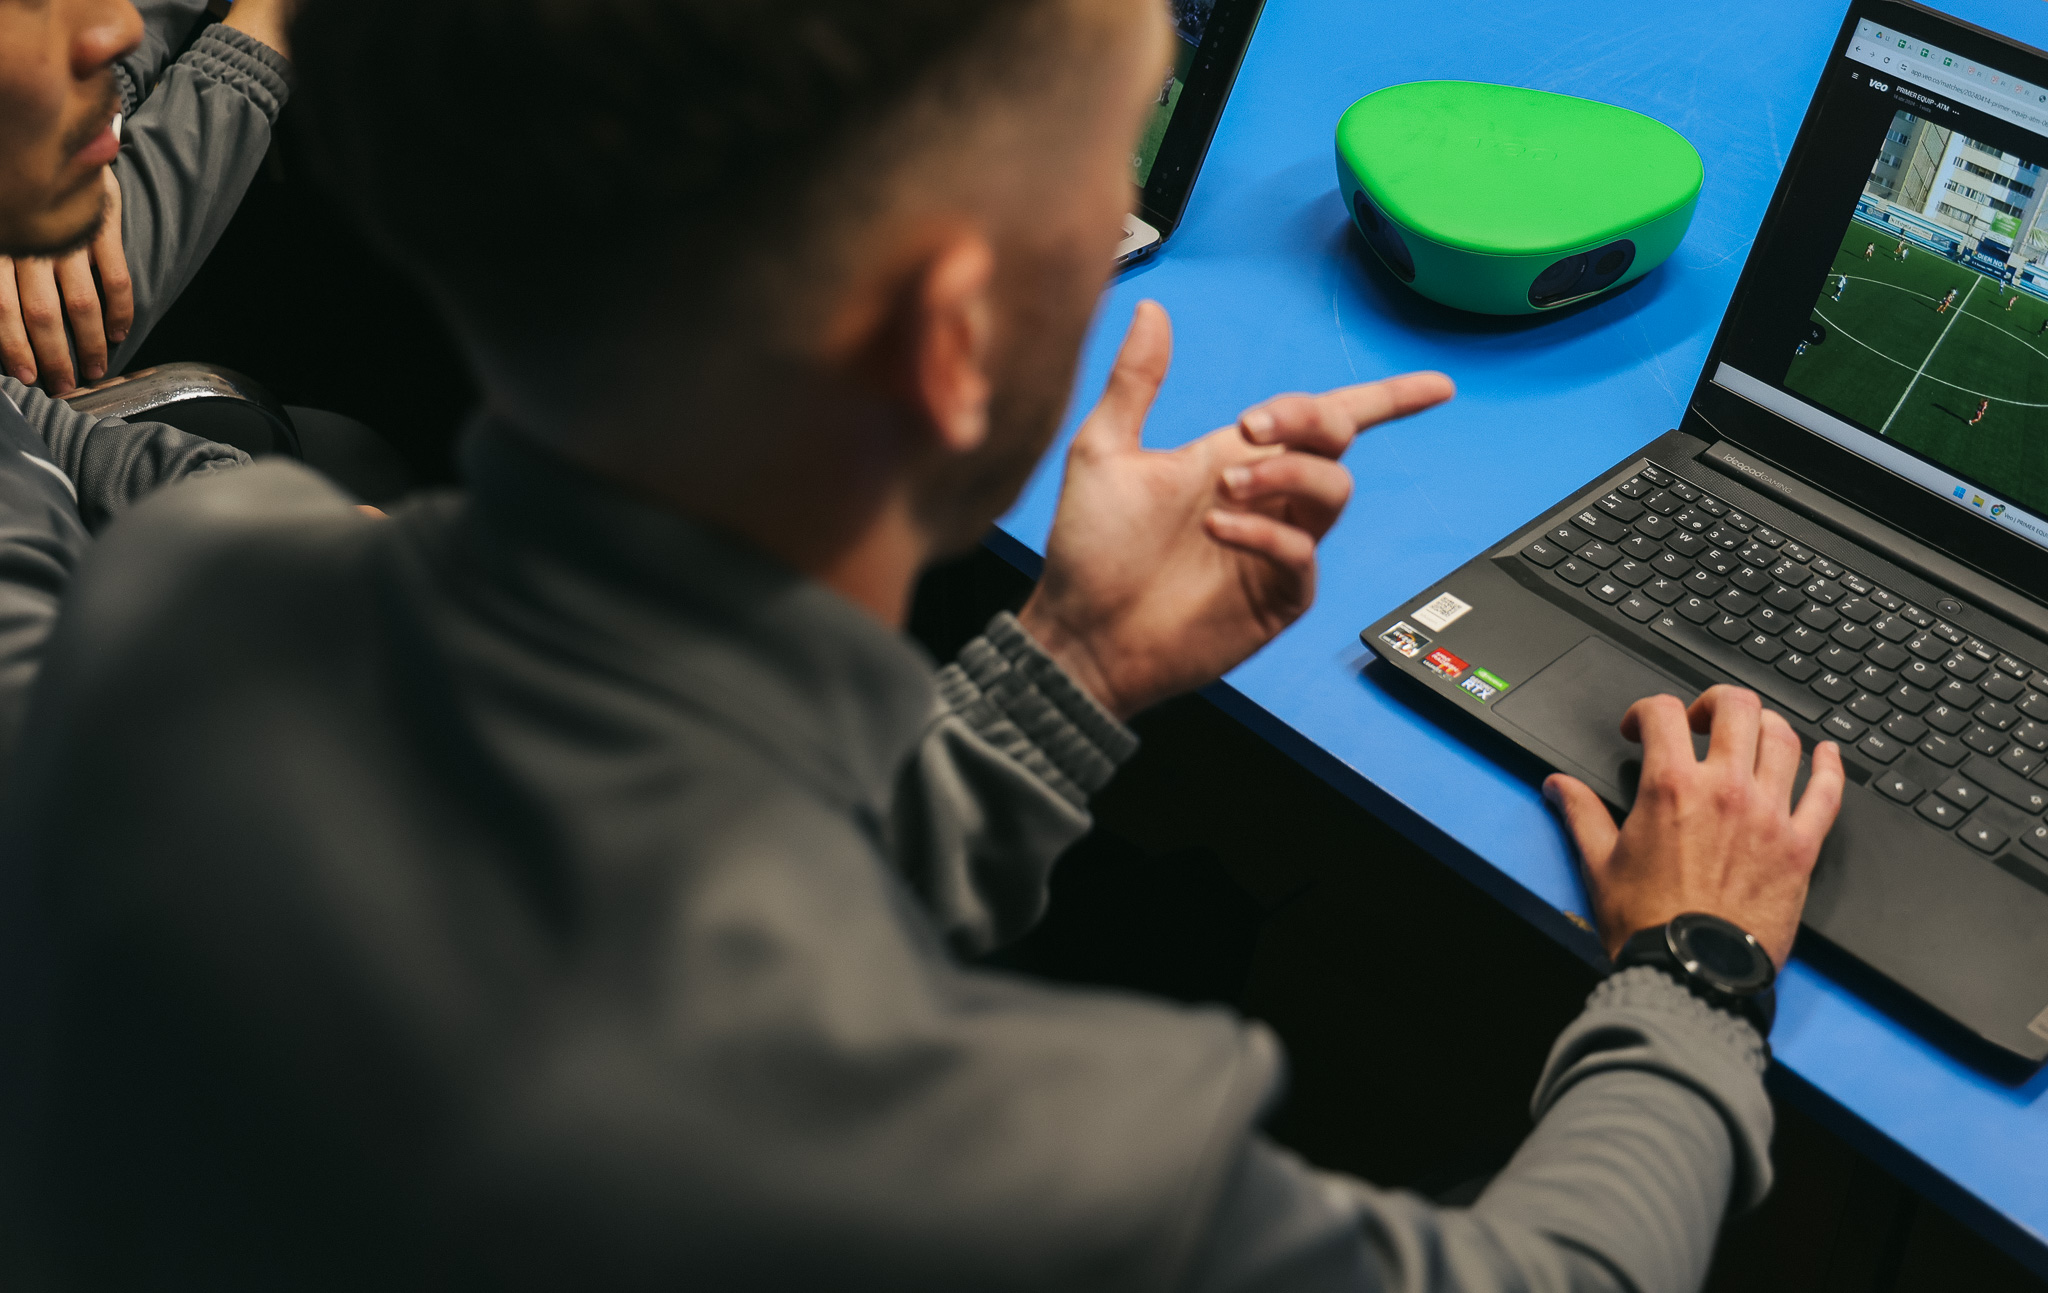
A hitting tee, a net or screen for hitting into, tennis balls or soft training balls, a bucket, and a flat wall are enough to run all six drills in this guide. A portable camera like Veo Go adds the ability to review mechanics after the session, which significantly increases the development value of indoor practice.
Once per week is enough to maintain and build mechanical habits through the winter. Two sessions per week produces faster development. The quality of the session matters more than the frequency: a focused 60-minute indoor session with video review is more valuable than two unstructured sessions without feedback.