Top Football Drills for Coaches and Players — With Video
Veo
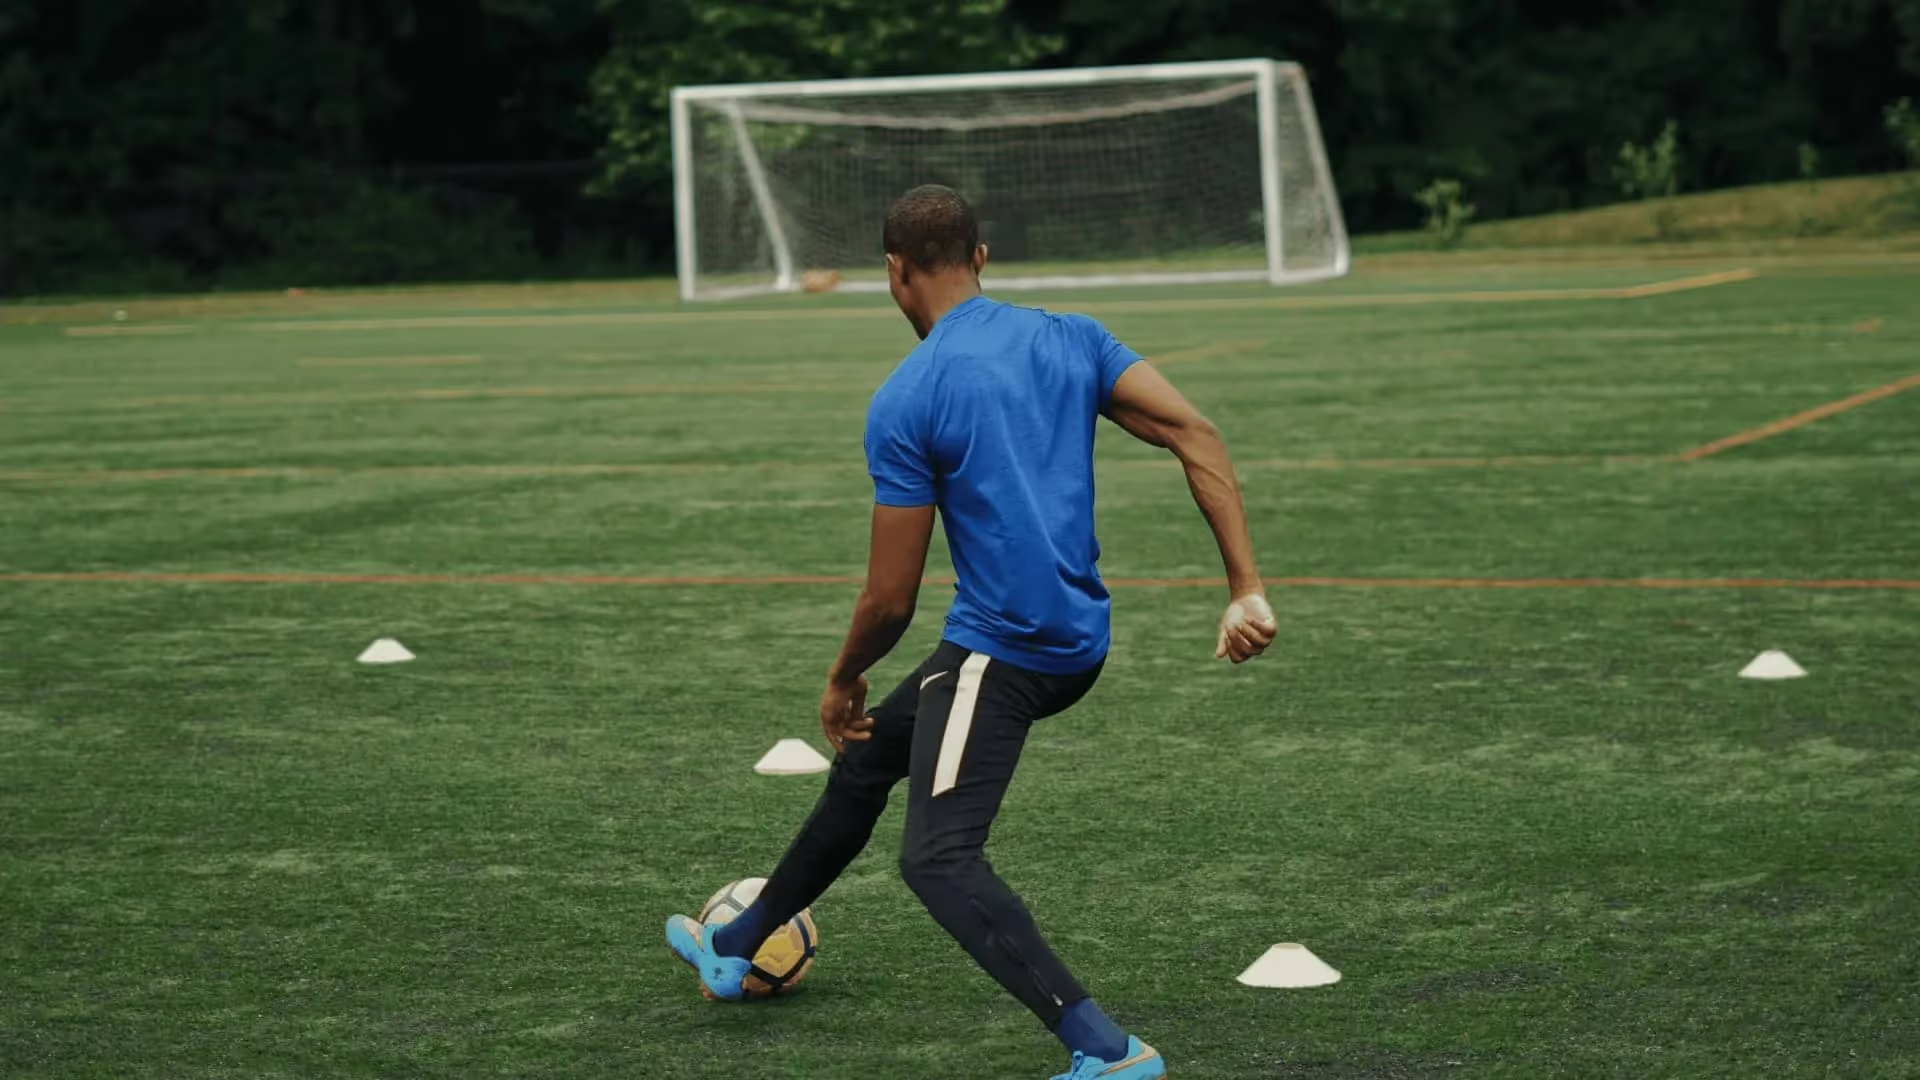
11 football drills with video for youth coaches. Covers dribbling, passing, small-sided games, defending and possession, with coaching cues and common mistakes for every drill.
Most football drill collections list exercises without explaining when to use them, who they suit, or what coaches should look for as players run through them. That makes them hard to use the moment a session starts going sideways.
This list works differently. Each of the 11 drills below comes with the original video, plus the age range it suits, the group size it needs, the time it takes, and the coaching cue that matters most while watching it unfold. Below the drills you will find a section on how to combine them into a complete training session, and a short note on how Veo's camera technology helps coaches review every drill afterwards.
The drills cover five areas that build complete youth players. Dribbling, passing, small-sided game decision-making, defending, and possession under pressure.
What Makes a Good Football Drill?
A good drill teaches one specific skill, scales to the players in front of you, and creates enough realistic pressure that players have to solve a problem instead of going through the motions. Every drill below meets that bar. Each one produces decisions and repetitions at the same time.
This is the difference between practice and play. A passing drill where every pass is identical builds technique without game intelligence. A defending exercise where defenders always know where the attacker will go builds confidence without reading. The drills here force players to think while their feet are moving.
What Are the Best Football Dribbling Drills?
Dribbling is the foundation of attacking football. Players who can keep the ball under pressure unlock everything else, including turning to play forward, beating defenders one on one, and creating space where there was none.
1. Turning to Play Forward
Best for U10 and up. Individual exercise. 10 minutes. One ball, four cones.
This individual exercise builds the most underrated skill in youth football, which is the half-second between receiving and turning. Players who collect and immediately face forward open passing options the opposition has not had time to close down.
The coaching cue is to watch the receiving foot. Players should take the ball with the foot furthest from where they want to play it next. The most common mistake is killing the ball dead before turning, which slows the tempo of the move and gives defenders time to close down.
2. Attacking 1v1 in Wide Areas
Best for U11 and up. Two players (one attacker, one defender). 15 minutes. One ball, cones to mark the channel, one small goal.
Wide-area duels are where most goals start in modern youth football. This drill isolates the moment of decision so players learn to read which way a defender is leaning before they pick a side.
The first touch decides the duel. A touch that pushes the ball into space invites the defender to commit. A touch that brings it short keeps them hesitant. The most common mistake is attackers running straight at the defender. Successful 1v1 wide players force defenders to turn their hips before attacking the space behind them.
3. Dribbling Square
Best for U8 and up. Individual or small group, one ball per player. 8 minutes. Four cones forming a square.
The Dribbling Square is the simplest drill on this list and one of the most effective. Repetition under low pressure builds the ball-handling muscle memory that more advanced drills rely on.
The coaching cue is eyes up between touches. Young players who only watch the ball cannot navigate around teammates, defenders, or even the cones. The most common mistake is using only one foot. Insist on alternating feet and including outside-foot touches.
Which Passing Drills Improve Team Possession?
Passing under pressure is where football is won. The drills in this section build the speed of thought that lets teams keep the ball when the opposition closes them down.
4. The Time Glass Passing Drill
Best for U10 and up. Four to eight players. 12 minutes. Four cones, one or two balls.
This drill is built around tempo. Players know the clock is ticking, so they pass quickly and move into space without overthinking. It is also a useful warm-up for older youth groups before sharper, decision-heavy work.
The coaching cue is first touch direction. The receiving player should always angle their body so the first touch sets up the next pass instead of just controlling the ball. The most common mistake is passing across the body of the receiver, forcing them to twist before they can play forward.
5. Pass In, Pass Out
Best for U11 and up. Six to ten players. 15 minutes. Cones to mark the working circle, one ball.
This drill simulates the central-midfield rotation that every possession-based system relies on. The receiver in the middle of the circle plays back to the giver, then switches the ball to a teammate on the other side.
The coaching cue is communication. Players in the middle should call for the ball before it arrives. The most common mistake is static feet. Players who receive standing still rarely play accurate one-touch passes back out.
6. 3v1+1 Rondo
Best for U11 and up. Five players. 12 minutes. Cones to mark a small grid, one ball.
The Rondo is football's universal possession drill, used by everyone from grassroots to Manchester City. The 3v1+1 version adds a neutral player to teach off-the-ball movement at the same time as ball circulation.
The coaching cue centres on the neutral player. Three players plus a neutral against one defender should mean possession holds easily, so coaches should focus on quality of pass instead of quantity. The most common mistake is players standing still after passing. Movement after the pass is what makes the next pass possible.
7. 2v2+2 Small-Sided Possession
Best for U13 and up. Six players. 15 minutes. Cones to mark a working area, one ball.
Once players are comfortable with rondos, this drill adds an opposing team. The numerical advantage with neutrals teaches players how to use overloads without losing them when possession is given away.
The coaching cue is that neutrals always play with whichever team has the ball. The side in possession is constantly 4v2, which forces the defending pair to press as a unit. The most common mistake is neutrals who drift to the edges and become passive. Coach them to stay active inside the grid.
Why Do Small-Sided Games Develop Better Players?
Small-sided games compress the decisions of the full eleven-a-side game into a smaller area. Players touch the ball more, defend more, attack more, and learn faster.
8. 1v1 into 2v2 and 3v3
Best for U10 and up. Six players in a queue, two players active at a time. 20 minutes total. Two small goals, cones to mark the channel.
This drill builds outwards from the simplest game (one against one) to add teammates and complexity gradually. It is one of the most efficient ways to train attacking decision-making with limited numbers.
The coaching cue is to encourage attackers to commit defenders. The progression from 1v1 to 3v3 only works if players learn to attract defenders before passing. The most common mistake is players switching off when waiting in the queue. Coaches should rotate quickly so players stay engaged.
How Do You Drill Defensive Positioning?
Defending in youth football is often coached as if it were just tackling. The drills below build the more important skills that come before the tackle, including positioning, communication, and patience.
9. 2v1 Defending When Outnumbered
Best for U12 and up. Three players (two attackers, one defender). 12 minutes. One ball, one small goal, cones to mark the channel.
Being outnumbered is something every defender will face during a real match. This drill teaches the patience and angles that turn a 2v1 disadvantage into a recoverable situation.
The coaching cue is that the defender's first job is to delay rather than win the ball. Buying two seconds gives a teammate time to recover. The most common mistake is diving in. Defenders who lunge at the first attacker leave the second free to receive a simple pass.
10. Receiving in Midfield
Best for U13 and up. Four to six players. 12 minutes. Cones to mark working zones, one ball.
Midfield receiving under pressure separates good young players from average ones. This drill builds the scanning habit and body shape that turns possession into progression.
The coaching cue is body shape before first touch. Midfielders who open their hips before the ball arrives can play forward, sideways, or backwards. Those who do not are stuck. The most common mistake is receiving with the back to play. The interference player exists specifically to punish this.
What Are the Best Possession and Ball Control Drills?
The final section is the area where the technical and tactical sides of football meet. Possession drills test everything at once, including passing, movement, defending, and decision-making.
11. Rondo 4v2
Best for U10 and up. Six players. 15 minutes. Cones to mark a square, one ball.
The 4v2 Rondo is the drill Pep Guardiola opens nearly every Manchester City training session with. It looks simple on the surface and reveals everything about a player's first touch, scanning habit, and passing weight.
The coaching cue is one-touch where possible, two-touch when forced. The square is small enough that holding the ball on the third touch usually means losing it. The most common mistake is players passing to the player nearest a defender. Coach them to find the open angle instead.
How Do You Build a Football Training Session Around These Drills?
A complete youth training session usually runs 60 to 90 minutes and follows a four-part structure that progresses from technical foundation through to game realism.
The warm-up (10 to 15 minutes) is for activation and not skill. Light dribbling work like the Dribbling Square fits here. Players move, the ball moves, and bodies prepare for harder work without anyone feeling pressured.
The technical block (15 to 20 minutes) is where isolated skills get refined. The Time Glass Passing Drill or Turning to Play Forward fit this slot. Players work in pairs or small groups on one specific technique with low decision-making demand.
The tactical block (20 to 25 minutes) is where pressure and decisions enter. Rondos, 2v1 defending, and possession drills like 2v2+2 belong here. Players keep the ball, defend the ball, and learn to do both with the opposition trying to disrupt them.
The game block (15 to 20 minutes) closes the session with full game realism. 1v1 into 2v2 and 3v3, or a small-sided match, lets players apply the technical and tactical work in a context that looks and feels like a Saturday game.
A simple rule helps when planning. Choose one drill from each block, write the times next to each, and give yourself a five-minute buffer between blocks for water and feedback. Coaches who try to cram more than four drills into a session usually find players running out of focus before the game block, which is the most important part.
How Does Veo Help You Coach These Drills Better?
The drills above are designed to produce decisions, but coaches cannot watch every player make every decision in real time. That is the gap Veo fills.
A Veo camera records the full pitch automatically, so coaches can re-watch every drill after the session and study what individual players actually did instead of relying on memory. The AI tagging makes it possible to jump straight to specific moments, like the second a defender lunged in during the 2v1, or the touch a midfielder took before turning on the Receiving in Midfield drill.
For youth coaches, this means individual feedback that is grounded in evidence. Instead of telling a player they were out of position, a coach can show them the clip and ask what they saw. That changes the conversation and accelerates learning.
See how Veo records every training session automatically.
Conclusion
The 11 drills above form a complete youth football coaching toolkit. They cover dribbling, passing, small-sided decision-making, defending, and possession, with specific coaching cues and common mistakes that turn each drill from an exercise into a teaching moment.
The next step is to combine them. Start by picking one drill from each section and building a single 60-minute session, then run it twice. Coaches who repeat the same drills with progression learn what their players actually struggle with, which is the foundation of useful long-term planning.
For deeper guides, see the youth football practice guide, the defensive football drills collection, and the football warmup routines to build out the start of every session.

Ready to take your game to the next level?
Talk to our experts to find out how Veo can help you improve your coaching skills.
FAQs
You should start your football drills by warming up with some dynamic stretching exercises to prepare your body for physical activity. Then, choose a drill that targets a specific skill or technique that you want to improve, and make sure to practice it consistently.
To get better at football, you should focus on improving your technical skills such as dribbling, passing, shooting, and ball control. Consistent practice and repetition of drills that target these skills will help you to improve and gain confidence on the field.
There are many good drills for football that you can do, depending on the skills you want to improve. Some examples include passing and receiving drills, shooting drills, dribbling drills, and footwork drills. It's important to choose drills that challenge you, but are also within your skill level so that you can gradually improve over time.
.jpg)

.jpg)